
A very Wizard of Oz birthday
 5 Comments
When I picked up The Wonderful Wizard of Oz, the original book by L. Frank Baum, last fall I did so in the process of looking for good read aloud books to share with Calvin. I had no idea at the time how far that one book would take us. Now, about eight months later, we've read all fourteen of Baum's Oz books, our love for them has become a hobby—for both of us—and Calvin is starting to re-read the series to himself.
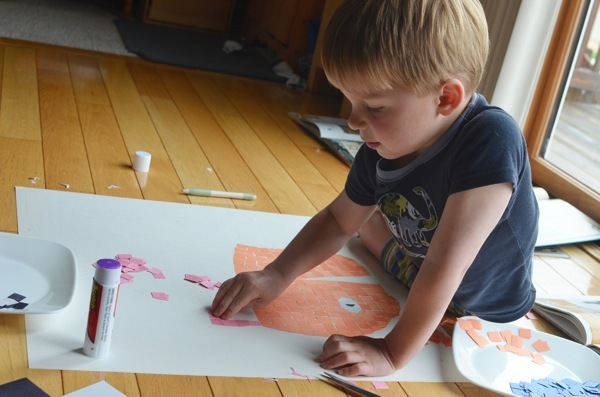
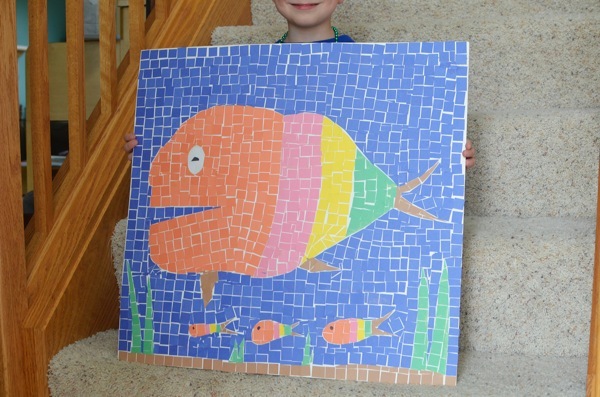
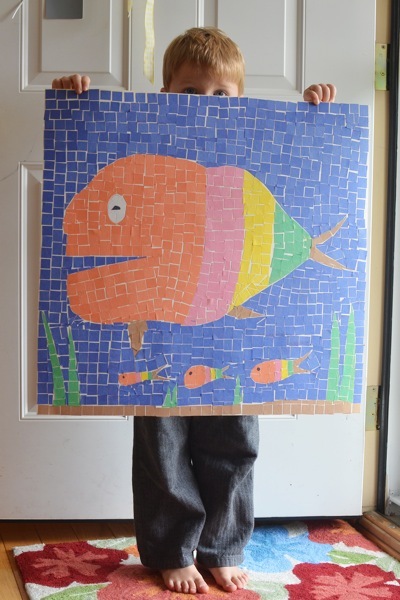
About a month ago Calvin asked to have a Wizard of Oz birthday party this year, and so that's what we did. Before I explain our steps I need to mention that this was not based on the movie, but on the original stories by Baum and artwork of John R. Neill. I should also mention that we're not into hosting big parties with, prizes, gift bags, etc. just yet. This was a low key, enjoyable family affair. Calvin was part of every step of the planning process except for the cake, which was my gift to him, as you'll see below. Calvin's planning included a lot of great ideas that were just not feasible, as it should be in a (now) five year old mind, but we did make a lot of things happen.
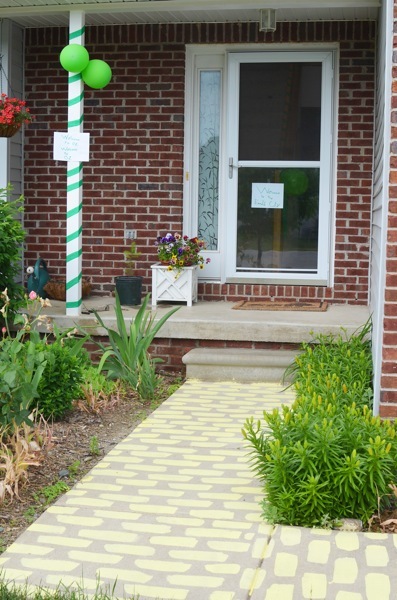
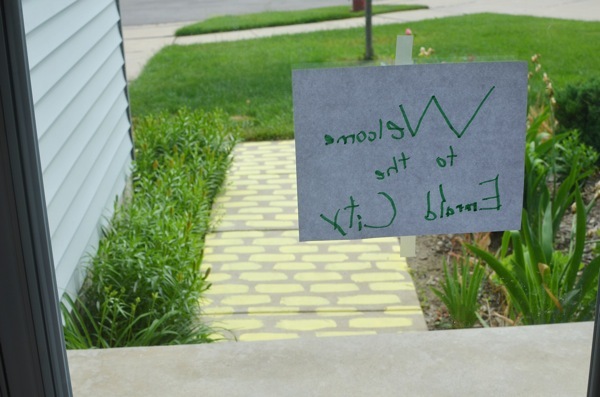
Follow the yellow brick road! We used a water and cornstarch mixture (a one to one ratio) with a lot of food coloring to make our front walkway into the yellow brick road. Calvin made signs for the front, the first reading "welcome to Oz" and the second reading "welcome to the Emrald City" (his spelling).
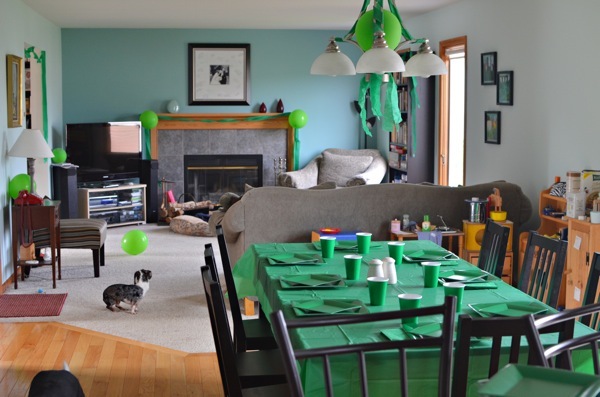
Once inside the house you were in the Emerald City, and all the decorations were green. Calvin chose green balloons, table cloth, napkins, plates, cups, and streamers.
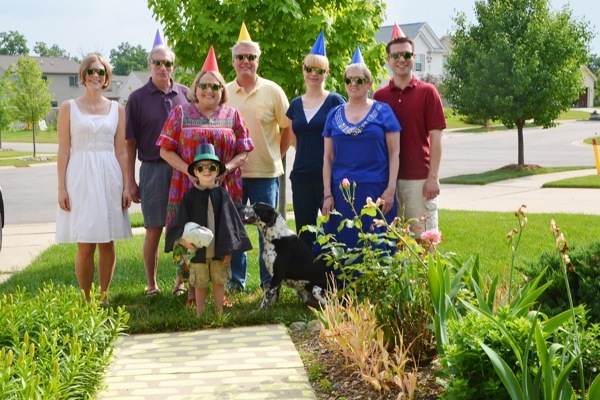
Guests (grandparents, and two aunts) had been asked to wear yellow, red, blue, or purple, as all the citizens of Oz live in one of the four countries of that land and always dress in the color of their country. On entering they were given party hats to match their color of choice, since pointed hats just happen to be the costume of all in Oz. They were also given green glasses (which we'd ordered from an online party store) because in the original book the Emerald City isn't actually all green, visitors were instead made to wear glasses with green lenses to make it appear so. Calvin and I were the only standouts—he was the Wizard, and I got to be Princess Ozma.
I think Calvin got the greatest kick out of these last two details, although he had a great time decorating with balloons and streamers, too.
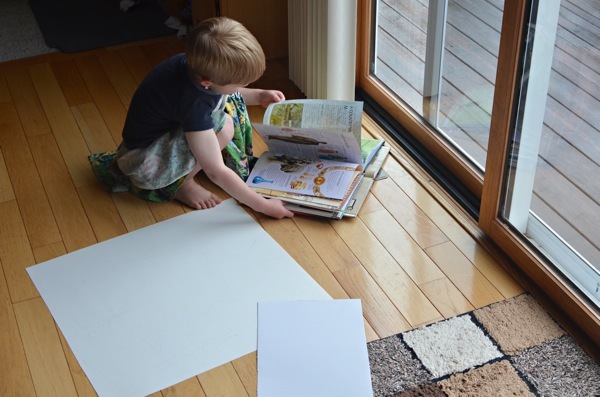
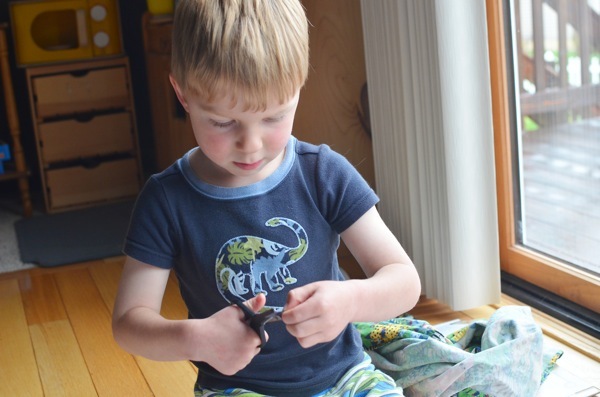
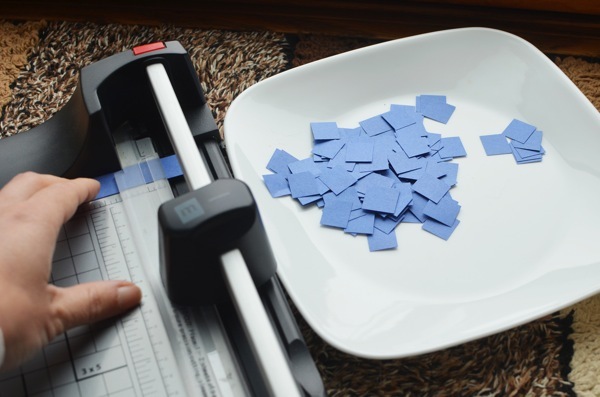
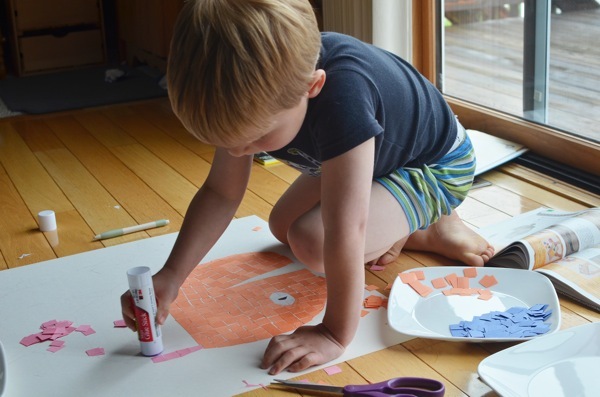
The cake was also designed by Calvin, although he did not know it. It is really a map of Oz as described in the books and as drawn by Calvin on many occasions. The Emerald City in the middle, the yellow brick road, and the poppy field I made of fondant, but I frosted the rest of the cake in homemade organic cream cheese frosting, colored with standard food coloring (usually a no-no in my book, but sometimes it just has to be done).

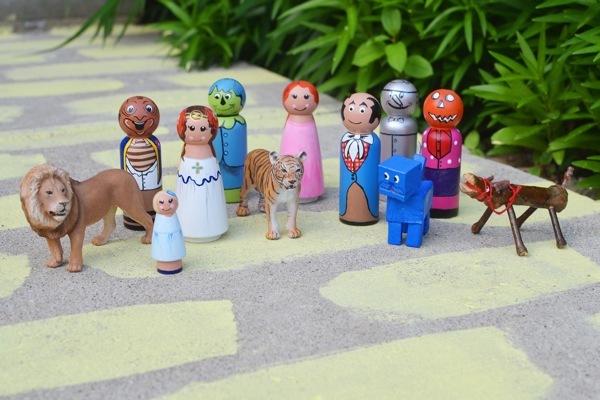
The cake is based on the original books, and obviously I'm not a professional cake decorator, but the concept is a good one and I'm sure someone can improve on it. The things surrounding it are actually handmade dolls of the characters from the books. They were part of our birthday gift to Calvin, a part that I'm glad to say he truly loved. The wood dolls were hand painted by Fancie Fannies (and are delightful and beautifully done). I ordered them over a month ago and it was hard not to give them to him early! The Cowardly Lion and Hungry Tiger are Schleich, and the blue Woozy and the Wooden Sawhorse I made myself (and am very proud of).
We had a wonderful time at the party, but as with most of these events, much of the fun was in the planning and preparation. I'm calling this art because a lot of imagination, planning, and creating definitely went into it. I loved thinking through the creation of the day with Calvin, and taking the necessary steps to make it happen, too.