
Egypt's Middle Kingdom (SOTW ch. 12)
Returning to ancient Egypt, we've now added the invasion of Nubia to our timeline, and the invasion by the Hyksos. Otherwise the Middle Kingdom is kind of a wash, and so were the recommended extra books. All of them dealt with Egypt in general, no specific information from the Middle Kingdom. Of course we loved the coloring book, and Calvin also greatly enjoyed Green's Tales of Ancient Egypt.
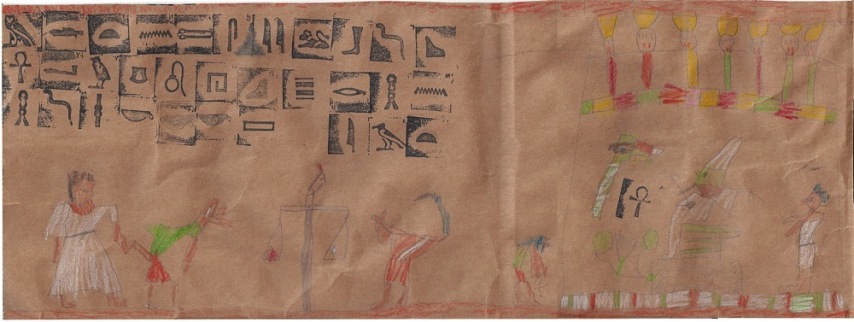
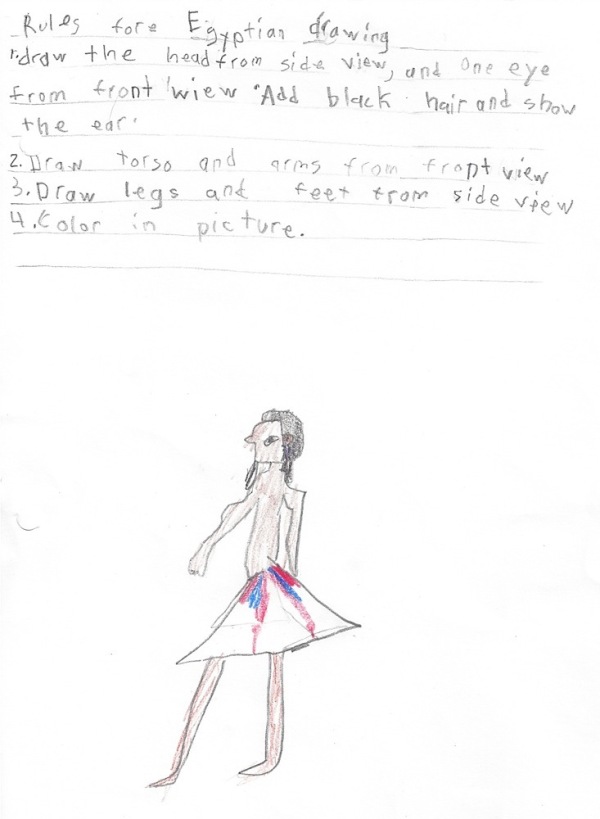
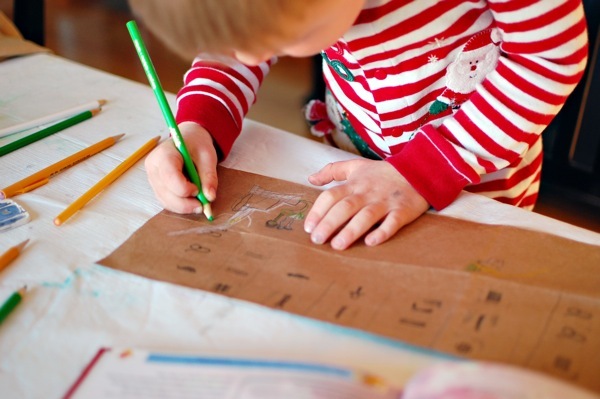
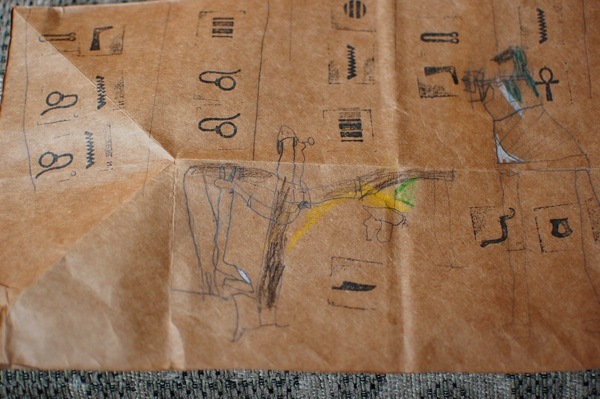
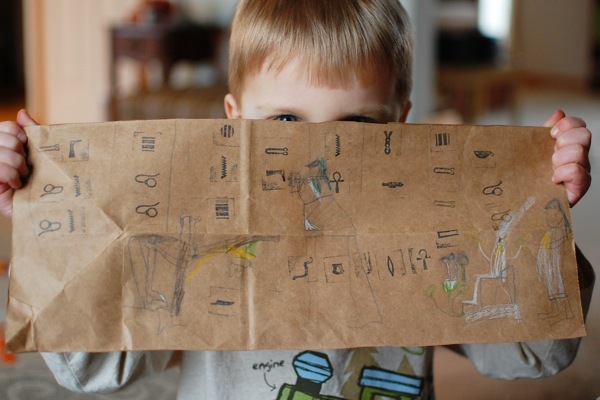
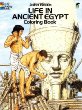 Life in Ancient Egypt: A Coloring Book (Dover, 1989). We are very fond of the Dover coloring books, which pair detailed line drawings with short but informative paragraphs about the subject.
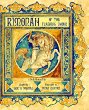 Rimonah of the Flashing Sword: A North African Tale (Eric Kimmel, 1995). A retelling of the Snow White fairy tale with middle eastern characters and a hint of middle eastern legends sprinkled in. I love what Kimmel has done with the heroin, making her a stronger character, but I don't find it to have a strong link to ancient Egypt at all.
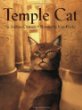 Temple Cat (Andrew Clements, 2001). A cat is worshipped locally in a village and treated as a pharaoh, but that's no life for a cat. Always doted upon and never allowed to do "cat" things, he eventually runs away to find happiness with a family somewhere else. The beautiful illustrations really make this book, otherwise the story is kind of bland.
 Egyptian Gods and Goddesses (Henry Barker, 1999). A very simple listing and description of the gods and goddesses of Ancient Egypt. Great for early readers.
 Tales of Ancient Egpt (Roger Lancelyn Green, 2011). This is an enjoyable collection of myths and legends based on the gods and goddesses of ancient Egypt. Not all of the stories included are traditionally Egyptian, though.
 History | tagged