
Young Scientist Series Kit 5: Solids, liquids, and gases (review)
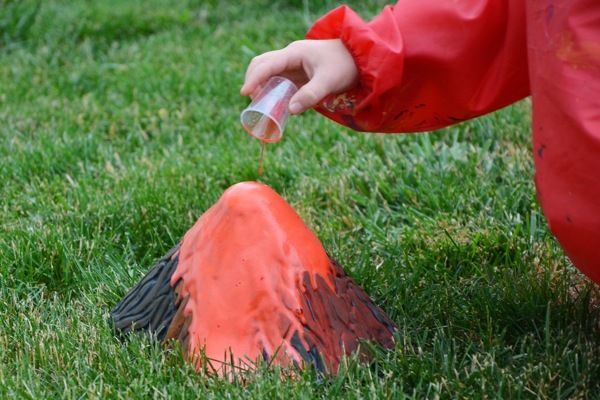
The solids, liquids, and gases kit came in a box with the volcano kit I wrote about last summer. We used it this week alongside the BFSU section on, of course, solids, liquids, and gases, and the demonstrations suggested there. As a side note, I bought a selection of these kits when they went on sale for half price at Zulily.com and paid only $12 a piece for them. So far I'd give them a generally favorable review, but I wouldn't ever pay $24 for one.
Included in the kit:
Instruction booklet (with a section for the parent and one for the child)
funnel
popsicle stick
balloon
glue
fiz tablets
borax
raisins
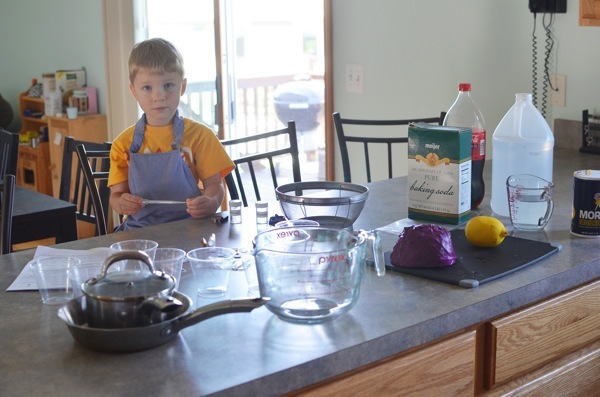
Needed from the house:
water, bowls, cups, measuring cups and spoons
small glass bottle with narrow neck
soda water
sugar
corn starch
food coloring
vinegar
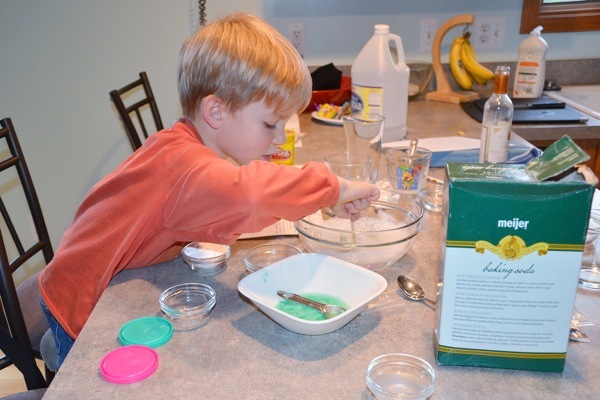
baking soda
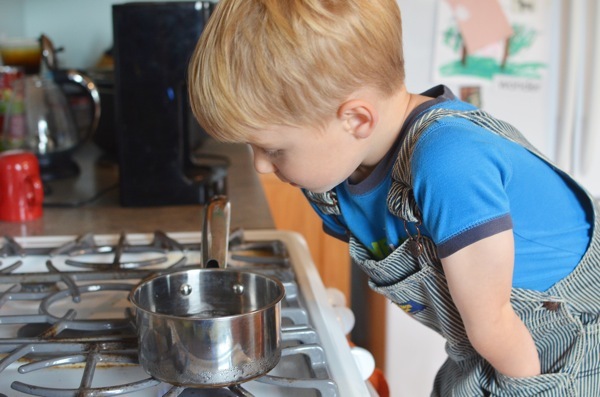
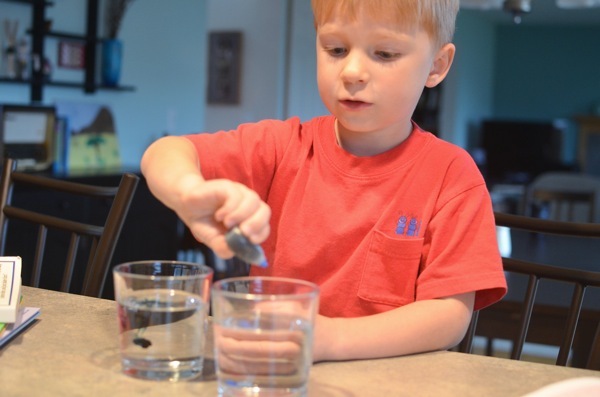
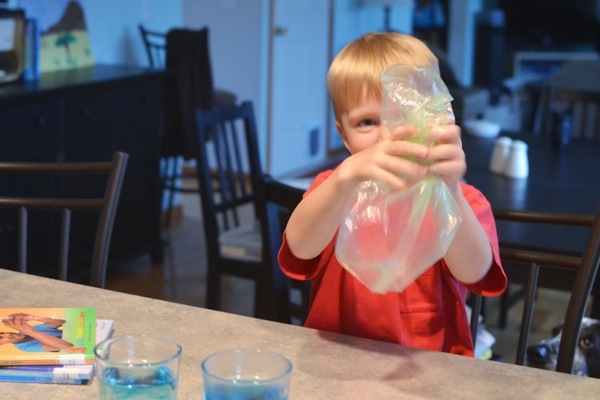
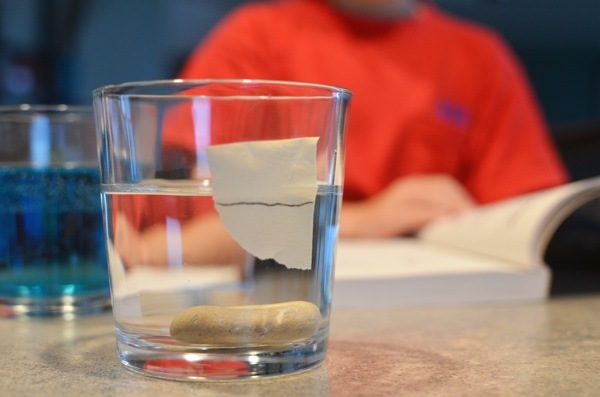
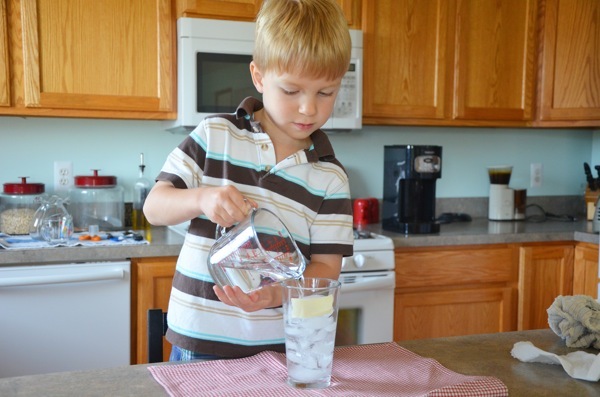
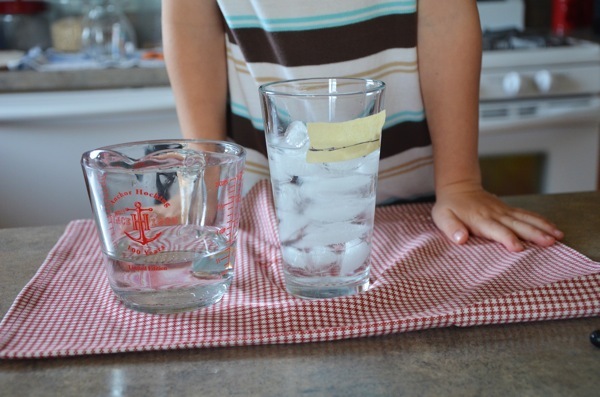
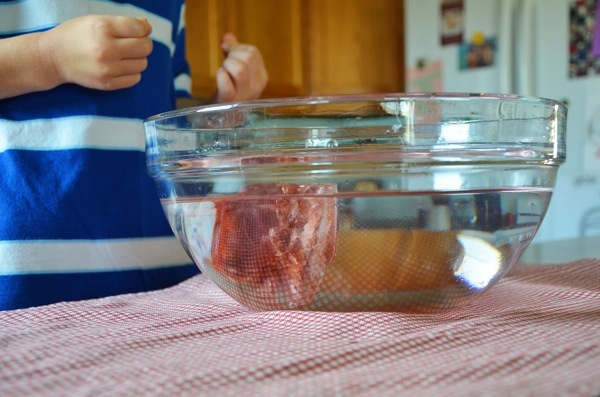
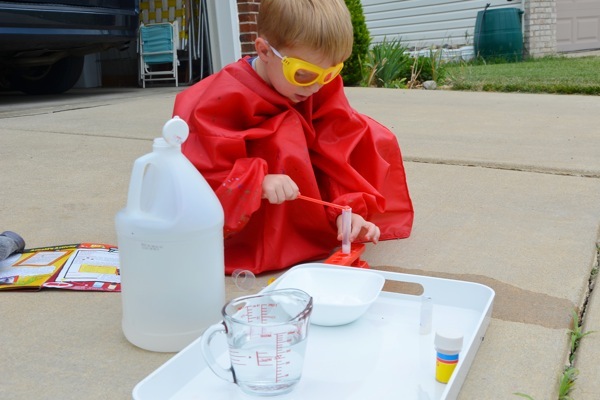
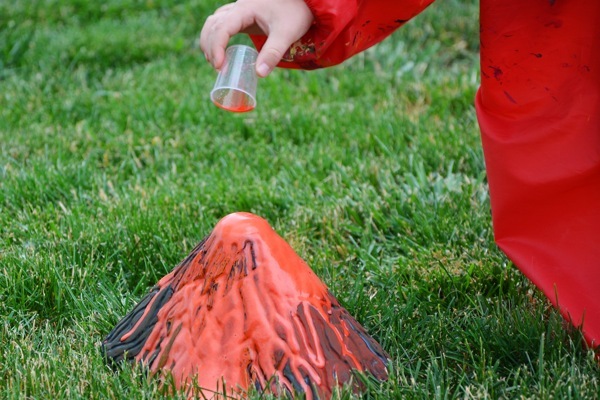
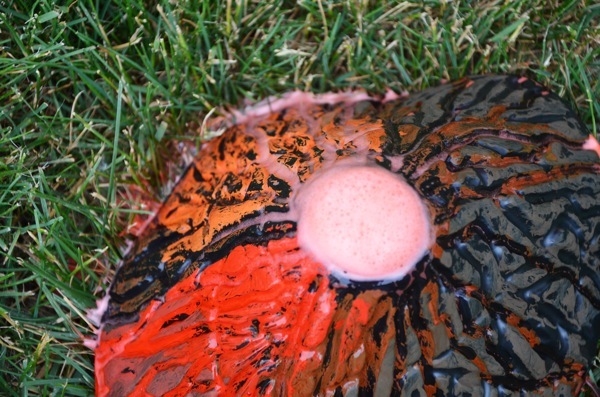
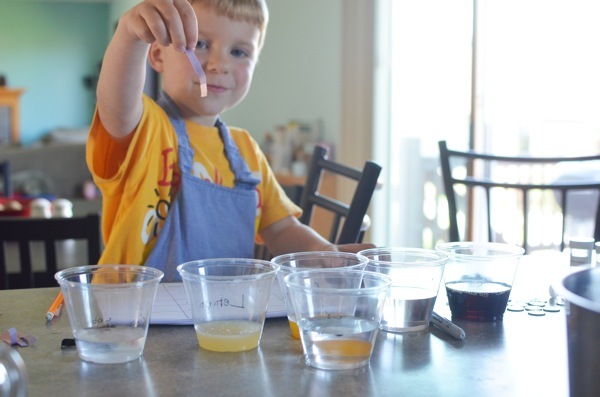
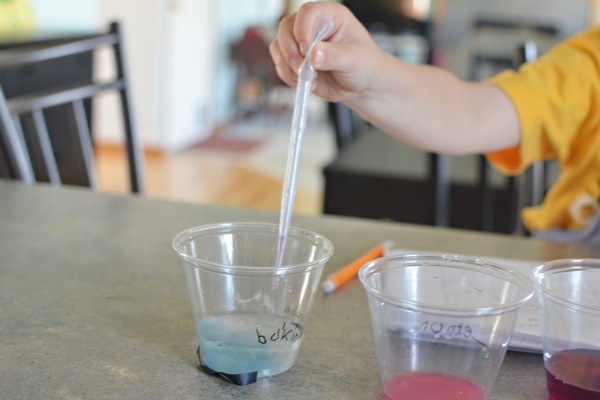
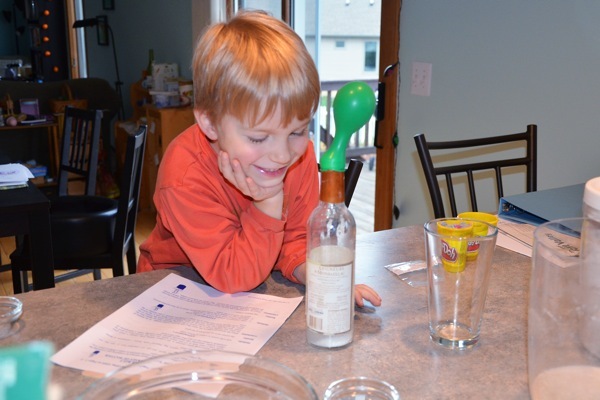
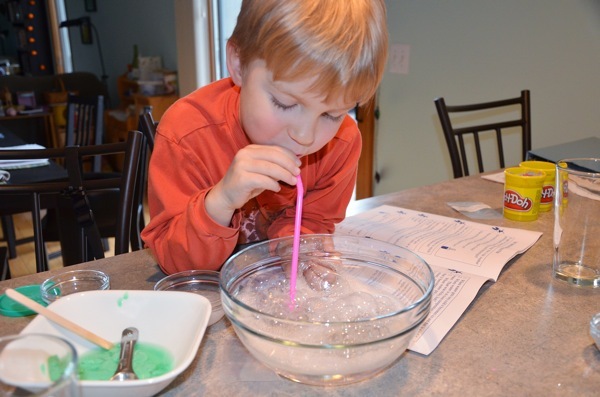
Instructions in the kit guide the user through observing raisins bouncing around in the soda water, using the vinegar and baking soda reaction to inflate the balloon, making a solid with corn starch, making "slime".
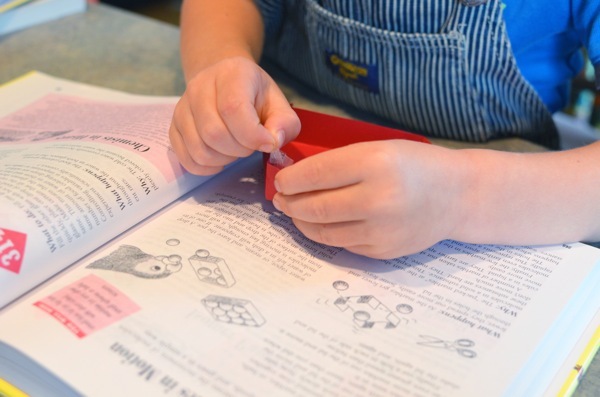
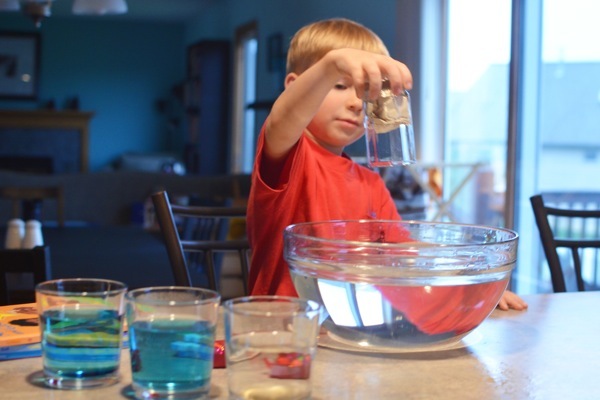
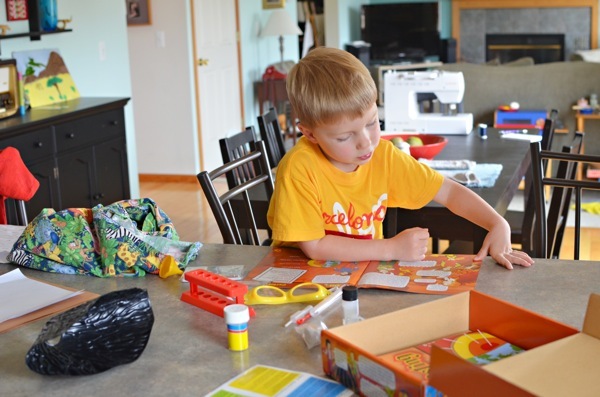
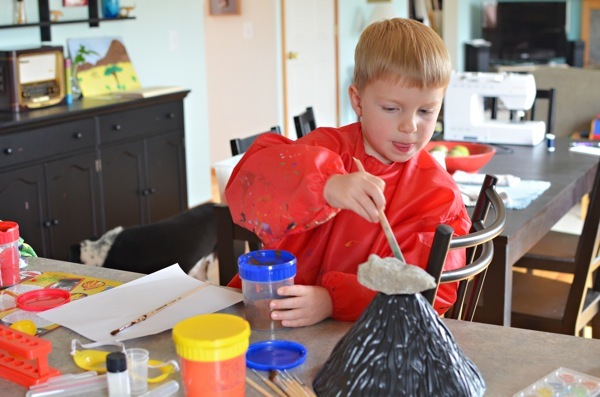
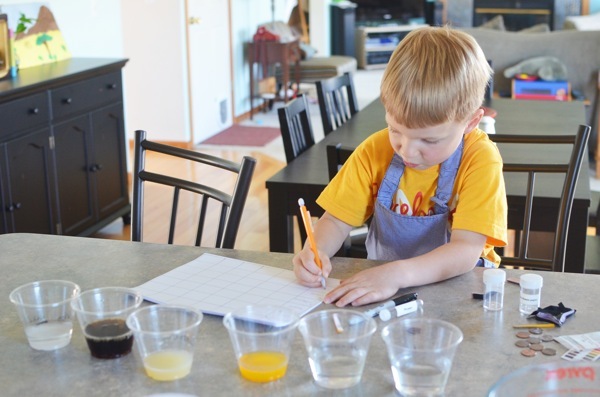
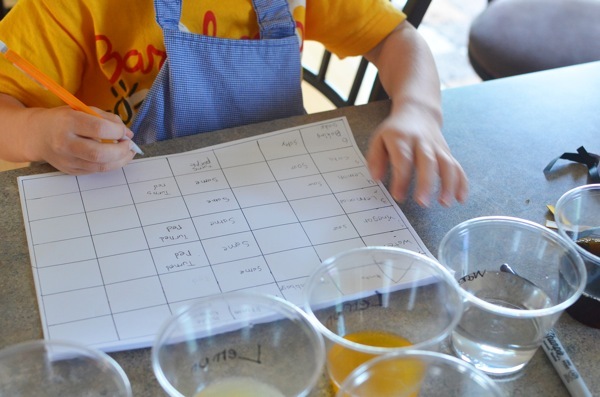
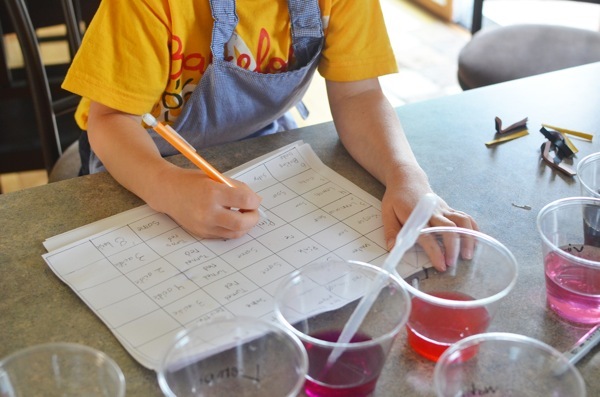
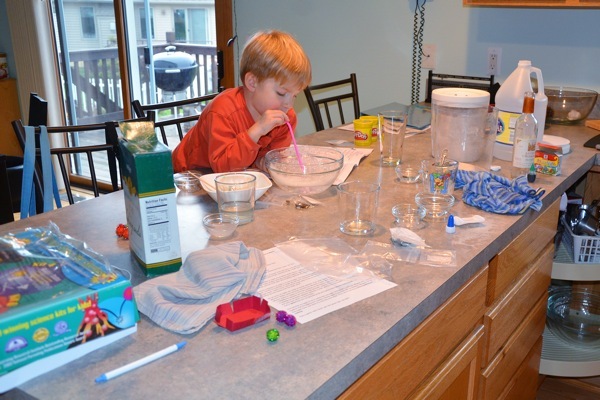
The good: we had fun with the kit. I handed Calvin the instruction booklet and we identified all the things we needed from the house and collected them, then he read through the instructions for each experiment and we tried almost all of them out (I didn't have corn starch). The experiments are fun—especially making "slime"— and I liked the "materials, methods, results, and conclusions" breakdown in the instruction booklet. Eventually he'll be writing those for himself, but seeing the process first is valuable.
The less good: After really enjoying his reading through the decently scientific insructions while we did the experiments/demonstrations, we realized that he'd been reading the "guide for parent, teacher, or supervising adult". The pages aimed at kids are less scientific, more cartoonish. The kid pages are still decent instructions, written as though a conversation with a bug, but Calvin and I preferred the parent instructions and will ignore the second half of the booklets from now on.
The disappointing: Every one of the experiments described and included can be found described in a variety of home chemistry and experiment books, while the list of what was included versus what was required additionally seemed random at best. I understand supplying the liquids, and also the bowls, utensils, etc., but if they're supplying the raisins, borax, and glue, why not supply sugar, food coloring, corn starch, and baking soda? Or how about supplying only the very rare oddities, like fiz tablets, and charging less for the kit?
Conclusion: I think I've said this before, but the only reason I would consider buying these kits again (at half price) is to have the instructions in a neat format (in the adult pages) that I can conveniently hand to Calvin and which we can write on and get messy, etc., etc. Plus there is something to be said for pulling out the box and having him get excited about what is coming up, but I assume that sooner rather than later he will be asking to experiment with household goods on his own, and then the kits will have done their job and become obsolete as a material good.
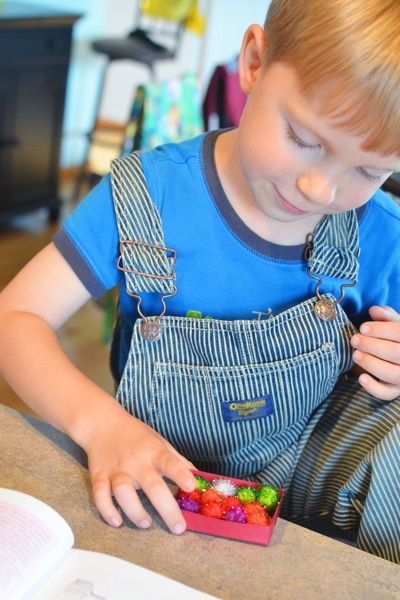
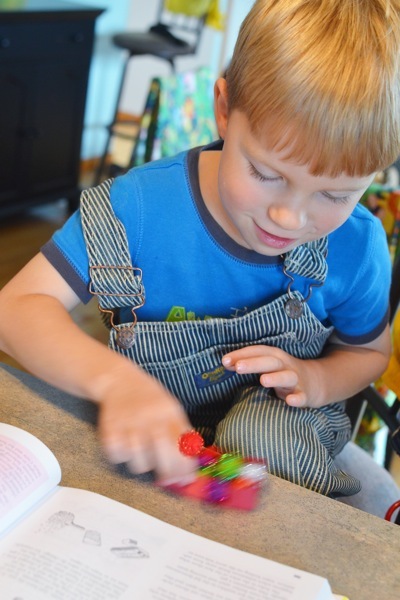
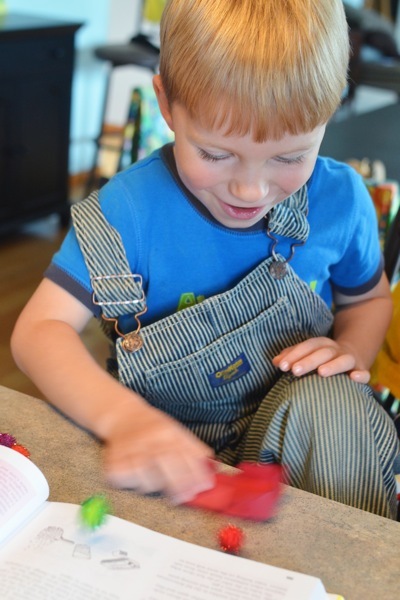
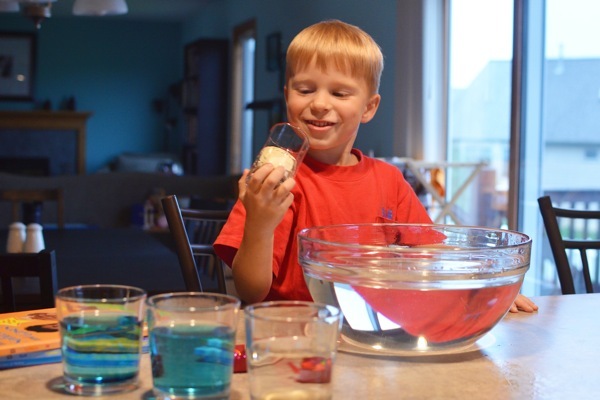
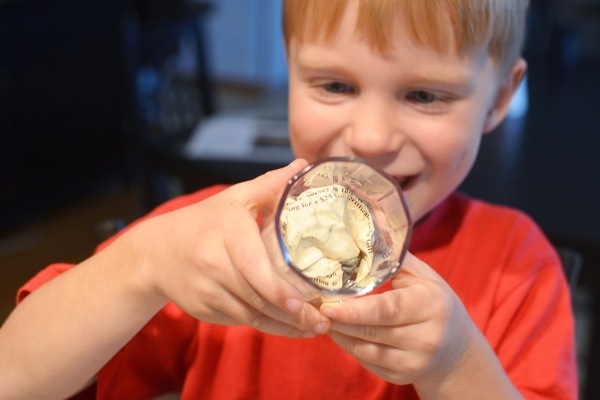
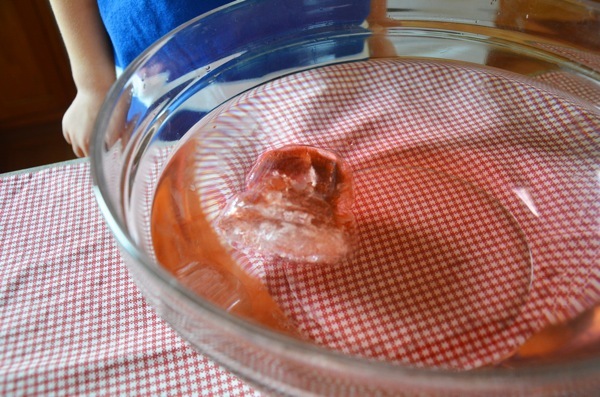
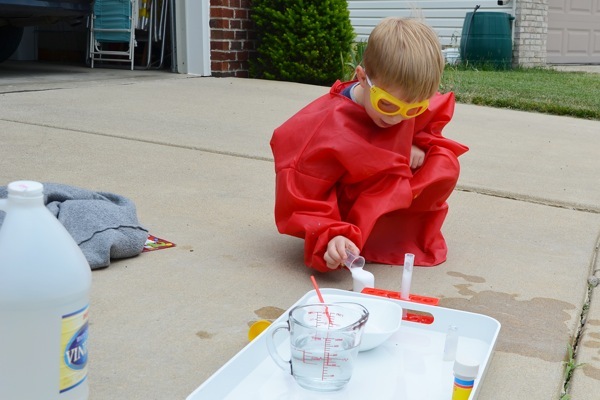
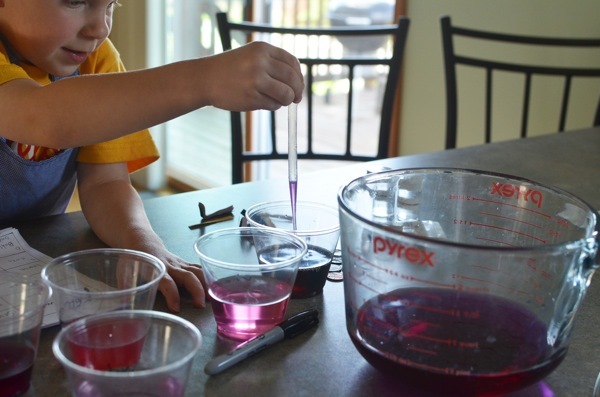
When we finished the kit I left Calvin at the counter with all the materials in reach and let him go to town, resulting in fizzy raisin and goop soup.
 Science | tagged