Calvin has an inquisitive mind and, like most kids, an innate and insatiable hunger for knowledge. That's why, when we took him to the North American International Auto Show last year, I was sure he'd be awed, intrigued, rapt. I failed to realize, though, that the completely unknown is not automatically interesting, that our interest has to be piqued, that being surrounded by so many saturating stimulants—the people, the lighting, the colors, the sounds—can make concentration near impossible and can push our senses to a point of exhaustion, and that can make one very crabby. Calvin wasn't really crabby last year, and the trip wasn't a colossal failure, but he certainly wasn't rapt. So this year I prepared ahead. Since we'd rowed our first FIAR book the week before I decided to use that method as a template and found a great book about cars.
The story in The Two Cars, by Ingri and Edgar Parin d'Aulaire, is the tortoise and the hare, only with two cars, and the art is typical d'Aulaire wonderful. We spent a week reading and talking about the book, exploring the art and the writing, and also exploring cars. The personified cars in the story conversationally mention the crankshaft, the pistons, the springs, and their white walled tires. Calvin loved it. We drew cars, we made a road and drove mini cars, we counted by tens on a speedometer, we checked out an Eye Witness book about cars from our library and drew our own diagrams of their inner workings. I think the best part, though, the project that worked the most magic come auto show time in Detroit, was the scavenger hunt we spent a day together creating and putting into booklet form for use on the day of the show. Calvin was determined to look for oddities like pink or orange cars, motor specifics like an in-line, a V, and a flat crankshaft engine, and book specifics like those white walled tires. Amazingly the only thing we weren't able to find was a pink car.
Lapbooking our way (less busy work, more collection of projects)

Diagrams, art, vocabulary, learning tools, all in one folder:

Inside the Auto show booklet, which we assembled using a sheet of cardboard for a cover and braiding floss for the binding (and to which we attached a pencil for use at the show). We had a sheet of things to see, oddities to find, activities to do, and, at Calvin's insistence, blank space for drawing logos and other interesting things.

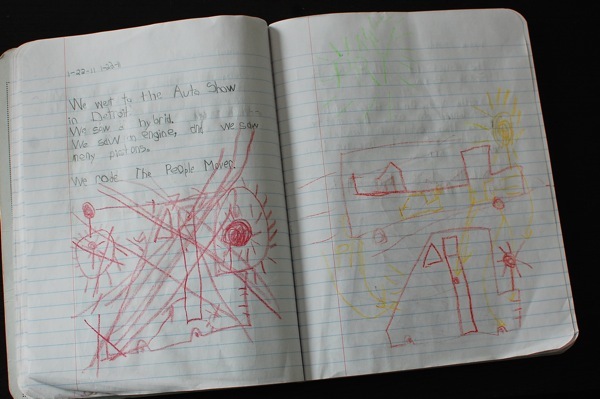
He made all his finds except for the pink car (bummer!) and he drew several logos. Recognize Toyota, Tesla, and Corvette on this page?


Ferrari, Maybach, Mercedes, Cadillac, Mazda, and Audi, and a picture of an electric car plugged in, too. He had no qualms about sitting down and sketching the logos when he liked them.


Inside and outside diagrams and a speedometer for counting by tens, plus a list of new words and the prized ticket from the Auto Show itself.

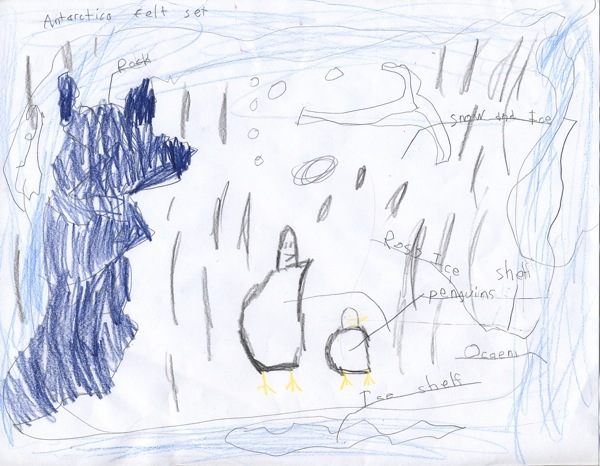
Calvin's own imaginative view of a motor (which he asked me to label the way I'd had him label my print outs, and I needed quite a bit of help with this one!)

Trying his hand at blending with colored pencils.

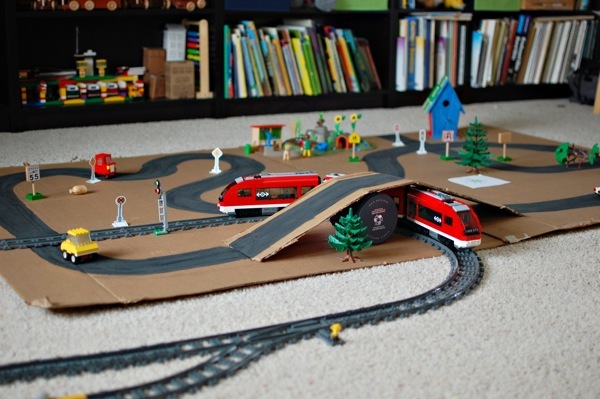
And we built a road for acting out the story, practicing with cardinal directions, and just plain having fun.


 2 Comments