Books We Are Using This Year
  • The Story of the World: Ancient Times (Vol. 1)
    The Story of the World: Ancient Times (Vol. 1)
    by Jeff West,S. Wise Bauer,Jeff (ILT) West, Susan Wise Bauer
  • Building Foundations of Scientific Understanding: A Science Curriculum for K-2
    Building Foundations of Scientific Understanding: A Science Curriculum for K-2
    by Bernard J Nebel PhD
  • Math-U-See Epsilon Student Kit (Complete Kit)
    Math-U-See Epsilon Student Kit (Complete Kit)
    by Steven P. Demme
  • First Language Lessons for the Well-Trained Mind: Level 4 Instructor Guide (First Language Lessons) By Jessie Wise, Sara Buffington
    First Language Lessons for the Well-Trained Mind: Level 4 Instructor Guide (First Language Lessons) By Jessie Wise, Sara Buffington
    by -Author-
  • SPELLING WORKOUT LEVEL E PUPIL EDITION
    SPELLING WORKOUT LEVEL E PUPIL EDITION
    by MODERN CURRICULUM PRESS
  • Drawing With Children: A Creative Method for Adult Beginners, Too
    Drawing With Children: A Creative Method for Adult Beginners, Too
    by Mona Brookes
Powered by Squarespace
Live and Learn Categories
Live and Learn Tags

Entries in diy (9)

Sunday
Oct312010

Making the train costume happen

Last year, after spending some time trying to figure out how to make a train costume and then having Calvin fall in love with a Winnie the Pooh costume at the resale shop, I told Calvin that he could be anything he wanted from then on as long as he could make the costume. About the same time I told me that this year he would return to the train idea, and that he wanted his dad and myself to be signals. As long as we can make it, kid...

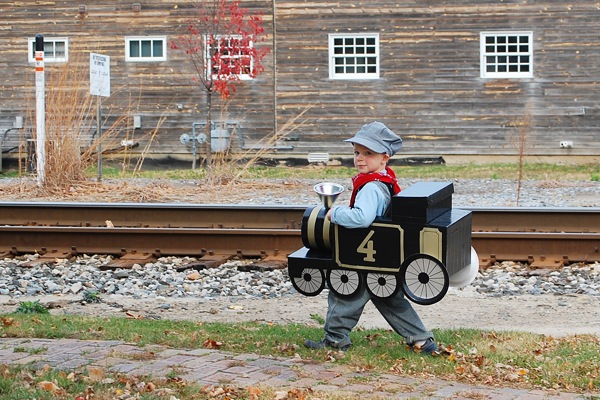
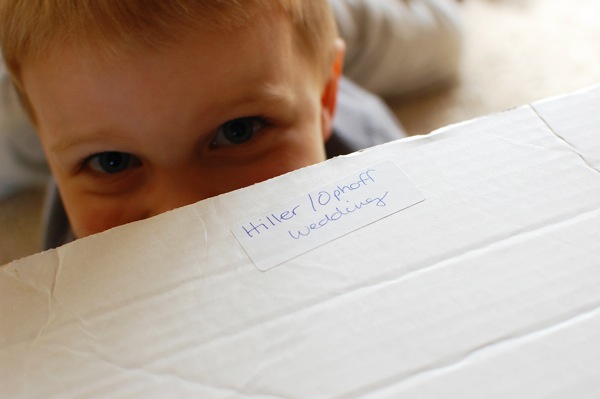
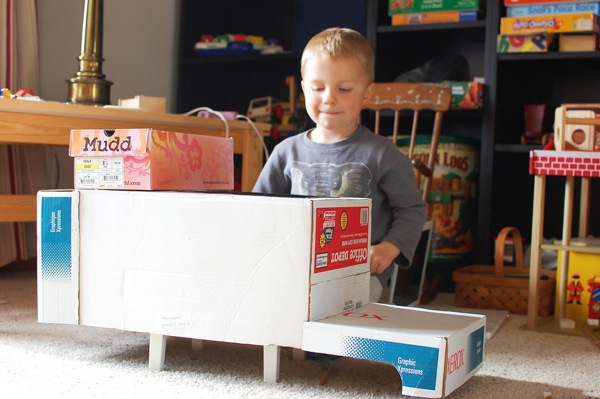
This year, as the date neared, I found myself wrestling with ideas and plans. There is nobody else out there making a train costume that isn't Thomas, but I found another mom's costume plans posted on her website and adapted them to fit our own needs. I followed her plans for basic box assembly—starting with a paper box (the same box we used over seven years ago to deliver the decorations to our reception site, and again three years ago to move baby items to the new house), a shoe box of matching width, and (thanks to my mom) two hat boxes.

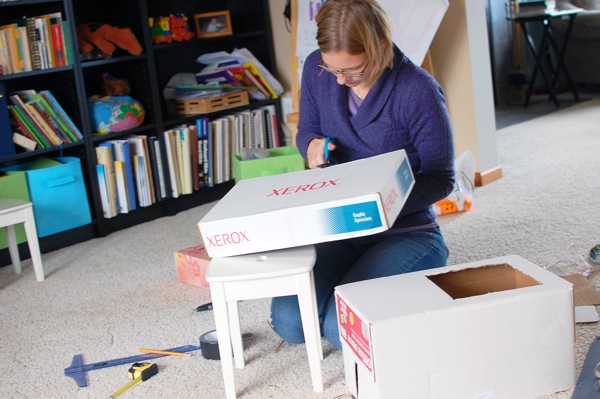
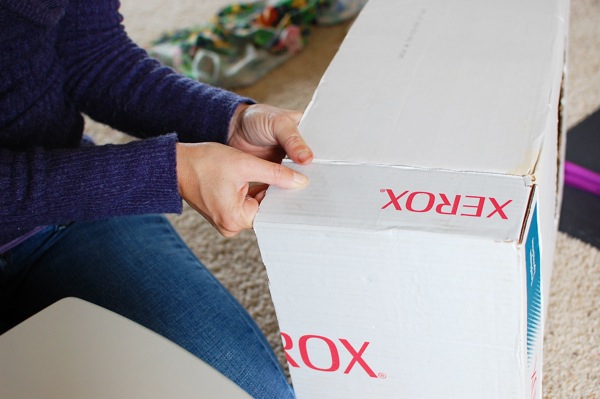
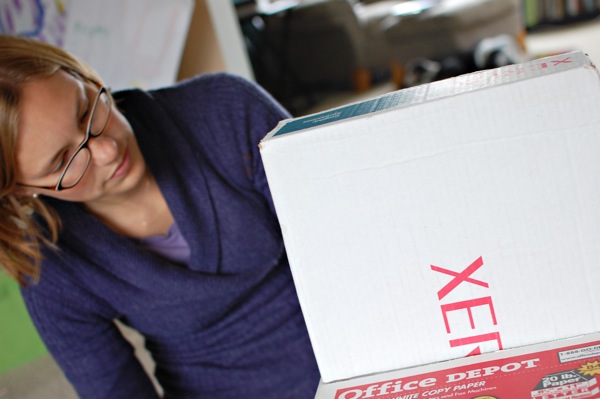
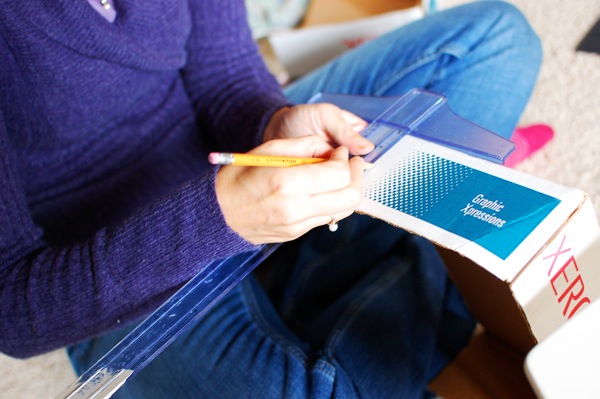
Calvin helped me shop or search the basement for all the necessary items, and then he helped me use the t-square and pencil to mark the boxes for cutting. We used the hot glue gun to attach the boxes initially, then covered the whole thing with black duct tape; Calvin helped hold the pieces in place while I applied hot glue, and he helped press the black tape into place. The duct tape added stability to the whole ensemble and also made it relatively water-proof just in case.

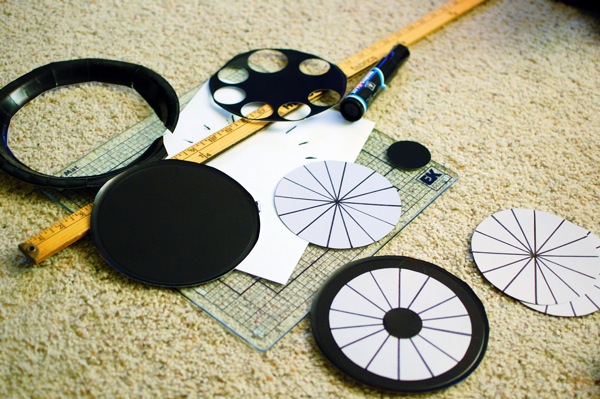
Calvin picked out black paper plates for wheels and silver and gold poster board for accents. He also picked a picture from his historical trains book for me to use as inspiration. He decided on silver for the wheels and gold for the accents. I cut the accents and wheels after he went to bed (since I'd waited until last minute and wanted the costume done before the costume parade in Dexter the next morning—nothing like last minute). There's nothing like scrapbooking materials for a project of this kind—I used my circle cutter on the wheels, the t-square and my circle punch for the side accents, and the Cricut to cut the fours. Engine, engine number four...

The straps are nylon and I stapled and duct taped them to the inside of the box before applying adhesive backed Velcro at the appropriate sizing for Calvin. The final addition, though, was the smoke stack. The original plans called for a tube but Calvin wanted an old steam engine, which would have had a conical smoke stack in front, so we stopped by our downtown hardware store while we were trick or treating on parade (even without the smoke stack he was a hit on the first dry run) where we found the perfect metal funnel. At home Calvin helped me measure for the location, I used a box cutter to make two diagonal cuts, and I adhered it to the front with hot glue.

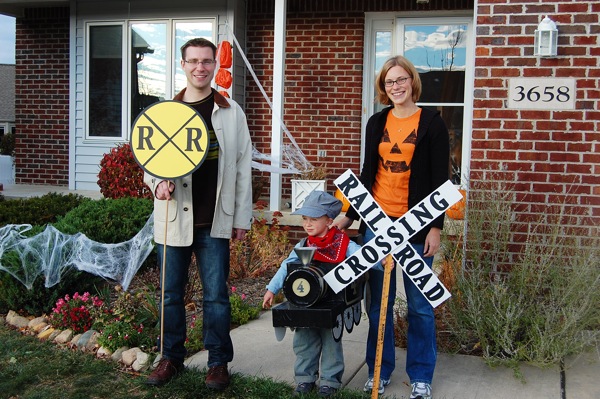
You'll remember that he also asked us to be signals, so to round out the ensemble on Halloween night I made a RR sign and a railroad crossing sign which two of his loving entourage (including also his Oma, Opa, and Aunt Ann) carried throughout our neighborhood escapades.

My favorite part of this costume was Calvin's involvement. He picked the costume and he helped make it, which means that when person after person asked him if his mom made it he was able to say, truthfully, "we made it together," and then often went on to explain what each part was made of and how it was assembled. Even the remotely curious were treated to his well spoken explanation.

Monday
Mar152010

Crafting—St. Patrick's Day decor

Holidays provide such great craft fodder. It was entirely Calvin's idea to make a shamrock craft for this week's holiday. Again, I think he just likes to use the Cricut, and maybe the glue stick. Actually, come to think of it, he's pretty keen on painting as well. In any case, here we are, getting ready for the greenest of holidays.

St. Patrick's Day art

Four hearts and a lower case "t" cut on the Cricut. Calvin removed the cross on the "t" with his little scissors and glued all the pieces together. It was boring by iteslf, so he decided to raid my button collection (which is, thankfully, rather extensive), and we used Glue Dots to adhere them to the shamrock. He wrote "Lucky" just for a final touch, and when we couldn't find a frame in the right color? He painted one.

St. Patrick's Day door wreath

I was never a wreath person before, but I've since changed my mind—I really like having something cheerful and welcoming on the door. When the Valentine's wreath came down, a week or so later than proper, of course, Calvin and I went in search of a replacement. A pre-made spring wreath runs upwards of $30 at the craft stores, and the wreath forms themselves are upwards of $10, not to mention the cost of additional materials, so instead we visited our PTO Thrift shop, which is quickly becoming one of our favorite shopping stops.

At the trhift shop we found a very country (not our style) door wreath for $2, relatively boring fake flowers in a happy yellow color for $1, and two rolls of green and shamrock ribbon for $1. A few quick snips freed the wreath base, and about three minutes later we had a spring worthy front door wreath for all of $5.

Thursday
Jan212010

Bookbag craft

Here is another one of the homemade gifts we gave at Christmas—hand painted canvas book bags. A little clichéd, I know, but when I saw the bags on sale at Joann's I couldn't pass it up.

Supplies: Canvas bag (or apron, etc.), fabric paints, pipe cleaners, sponge shapes, brushes, and fabric pens/markers.

1. First we made our stamps. Depending on who is doing this craft you could simply paint right on the bags, but with my three year old helper I decided that shape stamping would work better and we made the necessary shapes out of pipe cleaners and sponges. For flower stems I twisted one pipe cleaner into the shape of two leaves, then wrapped them around another straight pipe cleaner. For the grass I cut a pipe cleaner down a bit, then folded it in half to make two short blades of grass. With both of the stem and the grass I folded up one tip to use as a handle. For the flower heads we used a heart shaped sponge, and for the center just a dab with a paint brush.

2. Once we'd made our shapes I poured the paints onto small dessert plates, one color to a plate, and we dabbed our shapes into the paint, using a brush to make sure they were well coated before applying them to the canvas. We ended up with quite a bit of color mixing, of course. I allowed the bags to dry overnight before painting the second side, which I decided should have Calvin's adorable little hand prints, and he decided should have a few more shapes as well.

3. I finished this craft by writing on the bags with fabric markers (after they'd dried over night again). Done.

Friday
Oct302009

This is how we felt

It's the librarian that made us do it. I have intended to get Calvin a felt board for over a year now, but something or other just always seemed to get in the way. Mostly I struggled between feeling intimidated by the thought of making one, and appalled at the thought of buying something that should be so easy to make. I think I would have gone with my own ignorant waffling for quite some time if Calvin hadn't suddenly become obsessed with the act of playing librarian. We love story time at our library: we love the books, we love the music, we love the rhymes, and oh do we love the felt. It became suddenly impossible to stall the felt board project any further when I walked into our play room to find him sitting on his chair, reading books to his story time participants (of which Mouse was a part).After that I decided it was finally time to put my intimidation to rest, and making a passable felt board was so incredibly easy, I can only wonder why I waited this long.

For our board:
My mom brought us a large cut of felt from one of her craft store trips and I already had a foam board on hand in poster-board size (whatever that is, I didn't measure). I set the foam board on the felt and cut (the felt) to within three inches on all sides. Starting with one side I then folded over the extra and stapled in in place, making sure that the back end of the staple is at the back of the board. I used about 10 staples on the long side and six on the short, although this was probably overkill. Since not all the staples seemed secure I also used three inch masking tape to adhere the loose ends of felt in the back. The board rests nicely on our easel, or on the floor, or pretty much anywhere else he wishes to take it.

For our characters and shapes:
Squares of colorful craft felt are easy to find. We found about twenty different colors at our JoAnn Fabrics store (did you know they actually make felt out of recycled post-consumer plastic bottles? It's called eco-fi), and our Meijer also had a small selection of colors in their craft section. These squares run about 25 to 30 cents per piece. You can also buy adhesive backed felt for creating characters from multiple cuts and colors, although I just used a hot glue gun (better than regular or fabric glue because it doesn't bleed through the felt). I started out with some craft stencils I had, and I cut the first 9 numbers out free-hand, but when things started to get more specific I turned to the internet. To make a collection of animals to go with our Old MacDonald CD I did a Google image search for coloring pages of each animal (for example, "coloring page duck"), saved the image of my choice to my desktop, and used my image preview to get it to the size I wanted. Then I used tracing paper to trace the image from the screen, taped the tracing paper to the main color, and cut out my animal. Voila! To add other colors, like spots on the cow, I taped the same traced picture (now already cut out in the shape of the cow) to the new color of felt (in this case black) and cut out around the details (keep in mind that you want to cut shapes from largest to smallest, since you will be cutting the tracing paper along with the felt). I used hot glue to adhere the different pieces, and a pen or marker to add details I couldn't cut out (although this snags to felt, so I use this technique sparingly).

Our felt collection at this time consists of a school scenario (for Mary Had a Little Lamb), an Old MacDonald collection, and a large Pumpkin with several different shape pieces for making different jack-o-lantern faces. In subsequent shopping trips we have added new colors and now googly eyes as well, and Calvin has requested several more fun sets I can't wait to make. This is one of my favorite toys so far.

Page 1 2