


Making a castle
While exploring Italy this week we found ourselves in the Renaissance, and it wasn't a big leap from there to the general medieval era. We'll go back to the Renaissance some day but right now I have a little boy who is fascinated by the fantastical side of the middle ages, the castles, knights, lords and ladies, and jousts. Knowing this day was likely to come, a few months ago I picked up the Usborne Knights and Castles activity book at the library sale for 25 cents and it is serving us well now. It started us down the castle building road last weekend, when Jon and Calvin constructed a castle tower, and over the course of the week it grew into a two towered, multi storied play castle. I knew all that cardboard I'd been putting away would come in handy eventually.
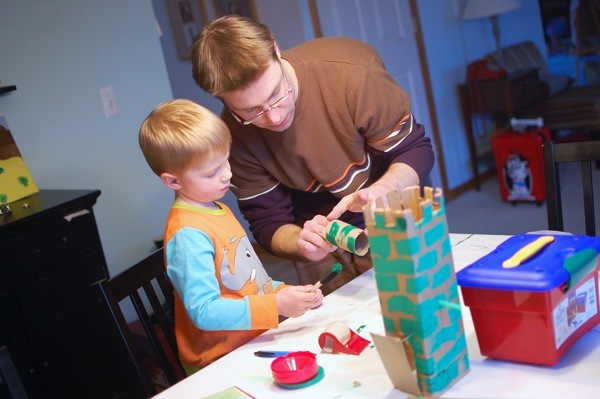
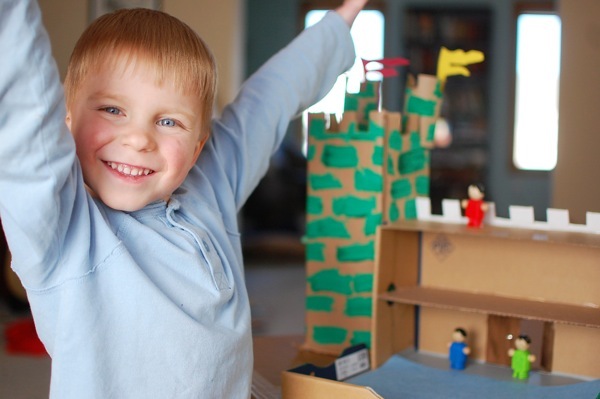
Calvin was part every part of the planning except for my idea of the shoebox for the center piece. He assisted with every step, including measuring, marking, gluing and cutting. Here's the run down of our process.
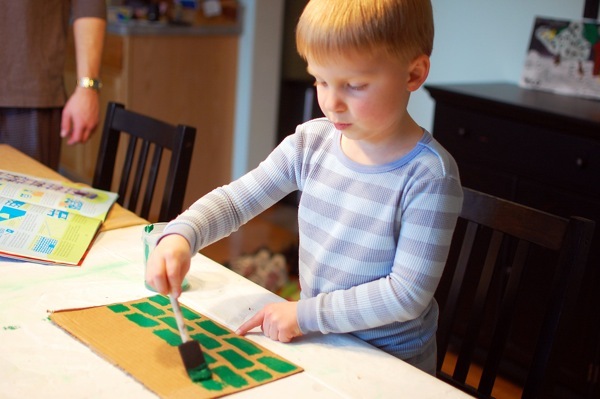
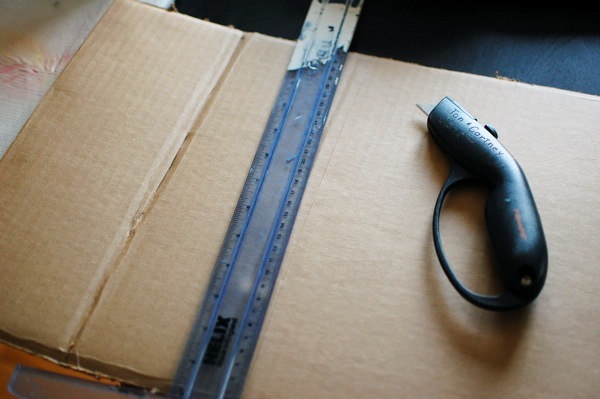
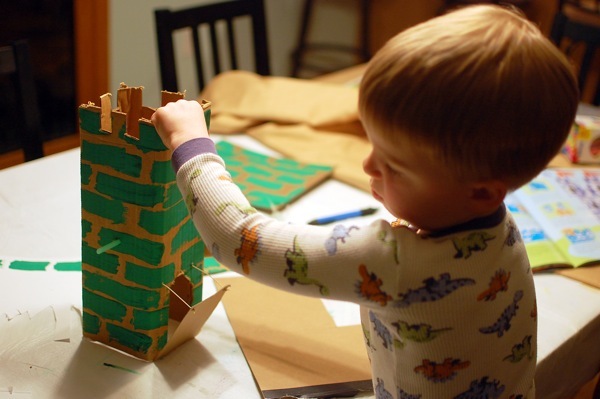
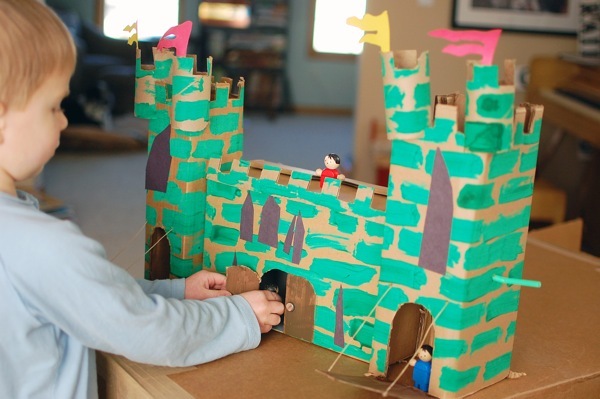
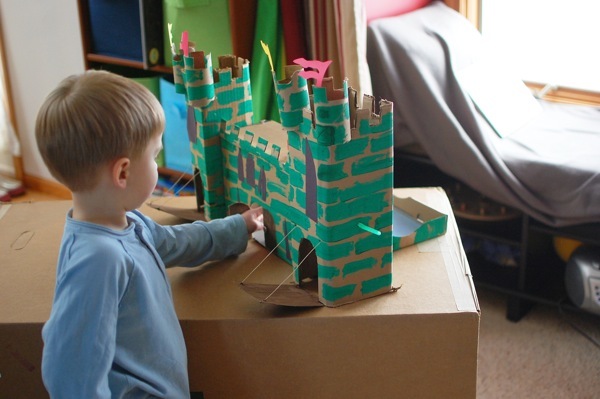
We decided on the size of our first tower, and later I built the second tower to match, but the size doesn't matter much. After selecting the cardboard and size for the towers Calvin painted the outside and we lightly scored the folds on the inside with a box cutter, four equal sides and a small overlap for gluing it closed. With Calvin's help we measured and cut the battlement edge and an opening for the door.
For the draw bridge we used lighter cardboard, cut to a rectangle shape twice the height of the door opening and folded in half. We spread hot glue around the inside of the tower door and glued the bridge to it so that it was adhered on the inside and would fold up over the door opening on the outside. We then cut the door space out of the lighter cardboard, leaving the doorway open and the bridge adhered to the tower by two tabs inside. We poked two holes opposite each other on the walks perpendicular to the door, slightly above the top of the door opening, and threaded a straw through them, trimmed flush on one side and attached with a brad while left long on the other. We poked smaller holes, through the bridge and the castle wall, on each top corner of the bridge then treaded waxed twine through these holes, knotted on the outside to keep it from puling through, and tied it to the straw with the bridge fully open. I then used hot glue to secure it.
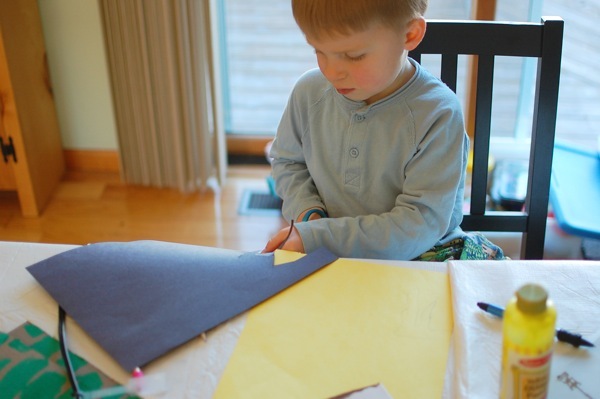
When the straw is rotated the twine is wound up and the bridge pulled closed, when twisted loose the bridge drops open. The turrets were made from wrapping paper rolls and attached to the main tower by sliding them into short slits made in the tower body. The flags and windows were cut from construction paper.
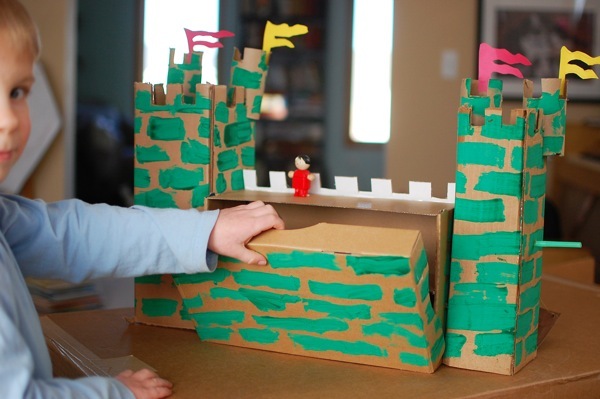
The central part of the castle was made from an Asics shoe box. I love those boxes for crafts. The lid is attached so that it will swing open, and while the box is printed on the outside it is all one piece and assembled using only slits and folds, no glue, so it can be completely turned inside out leaving the clean inside on the outside for painting and decorating, which Calvin did to match the two towers.
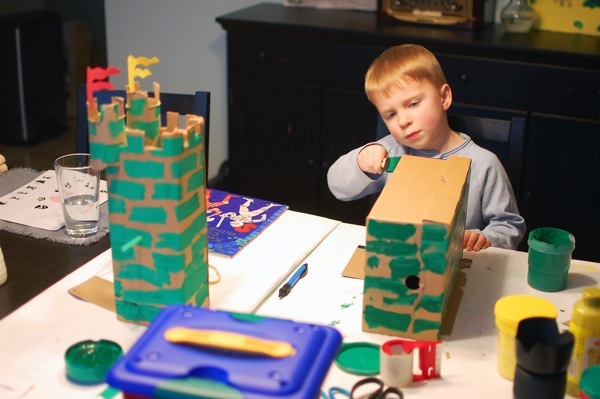
We also painted an extra strip of cardboard and cut it to create a battlement look, then attached it using hot glue. We used a second extra strip of cardboard, attached with hot glue, to make a second floor. We cut a double door into the bottom of the box so that when the box lid (now the back of the castle) is open it provides access to the inside of the castle and creates access to the inside for play. The two towers are attached to the central castle with hot glue.
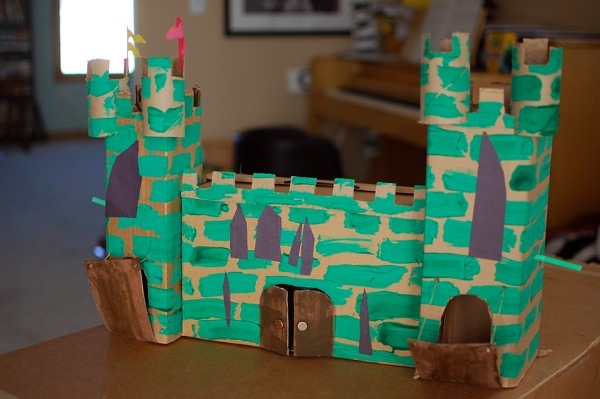

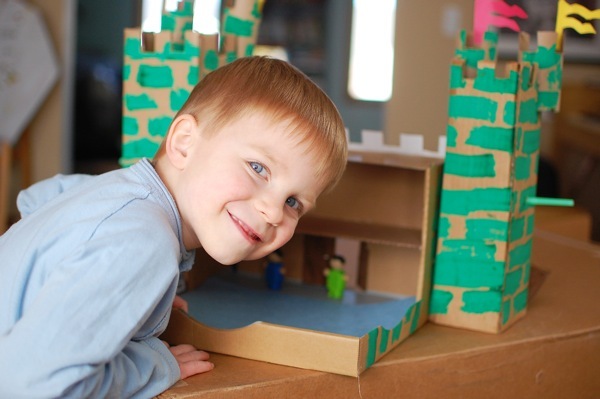

We plan to cover the "floor" of the castle with felt and create some medieval furniture as well, but it's already proved a delightful toy for my knight obsessed little boy.
Join the art parade at Saturday's artist.

 History | tagged
Reader Comments (7)
Just wonderful.
He really should be. What a beautiful castle.
found you via skip to my lou! having a 'knights & dragons' party for my little guy in september & have been brainstorming for castle ideas! may have to borrow this idea! :)