
A very Harry (Potter) birthday party (affordably)
 Post a Comment
Potions class, Herbology, Quidditch, and a trip down Diagon Alley is how we do ten years old around here. The minute we settled on an at-home birthday party this year (something I was pretty sure I'd never do), Calvin requested a Potter party. The series is a favorite amongst his homeschooling cohort; they play Hogwarts make-believe whenever the chance arises, rehash the stories in drawn out discussion on a regular basis, and are lobbying for the play to be their production this fall. Having just finished the series myself (yes, for the first time!), the subject was fresh in my own mind and the party seemed like a great idea.
There are innumerable ideas for Harry Potter parties on Pinterest, and they vary widely in cost, time expenditure, and required talents. Of course Calvin had lots of pie in the sky dreams for his ideal party, so we took his big list of ideas and narrowed it down to what was affordable and doable in the time and space we had. Making wands and jelly bean boxes got the green light, but creating a Whomping Willow in our front room got crossed right off, as did the making of scarves and robes for all the guests. The resulting party required some work, but was fun both in preparation and in realization.
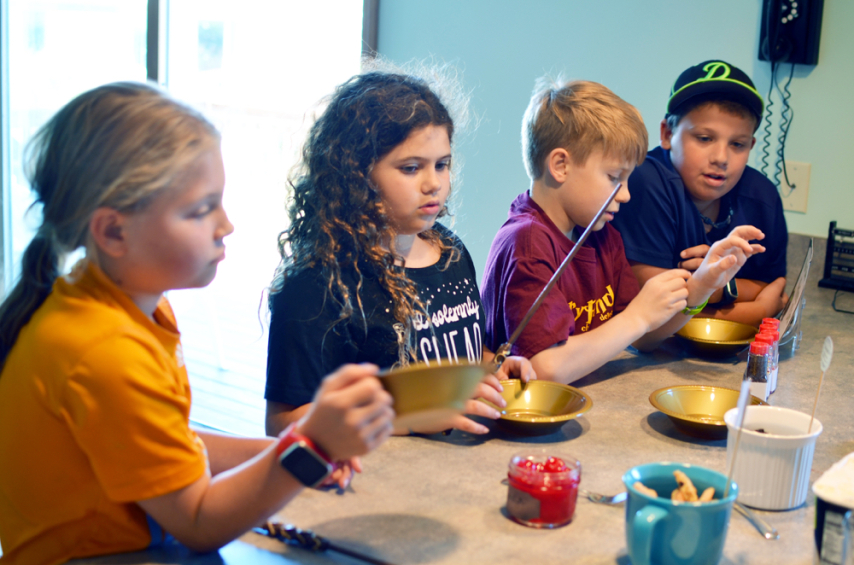
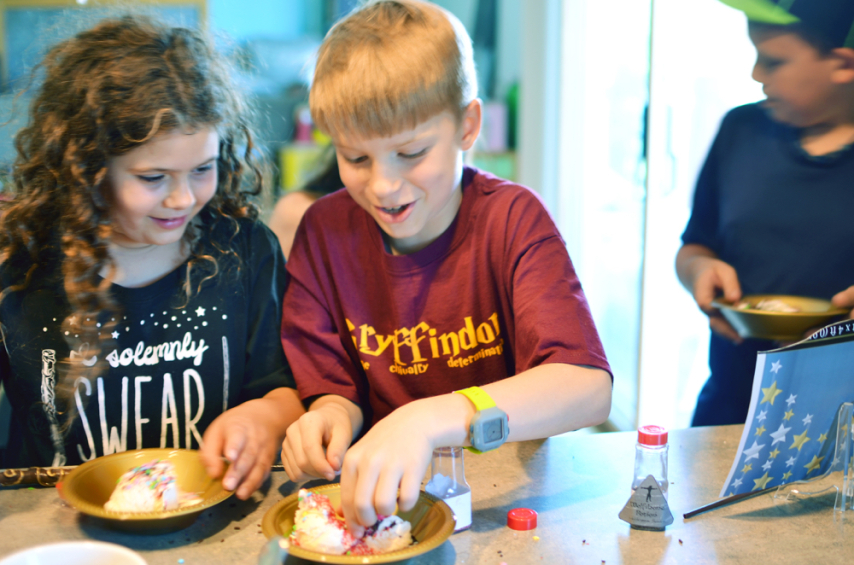
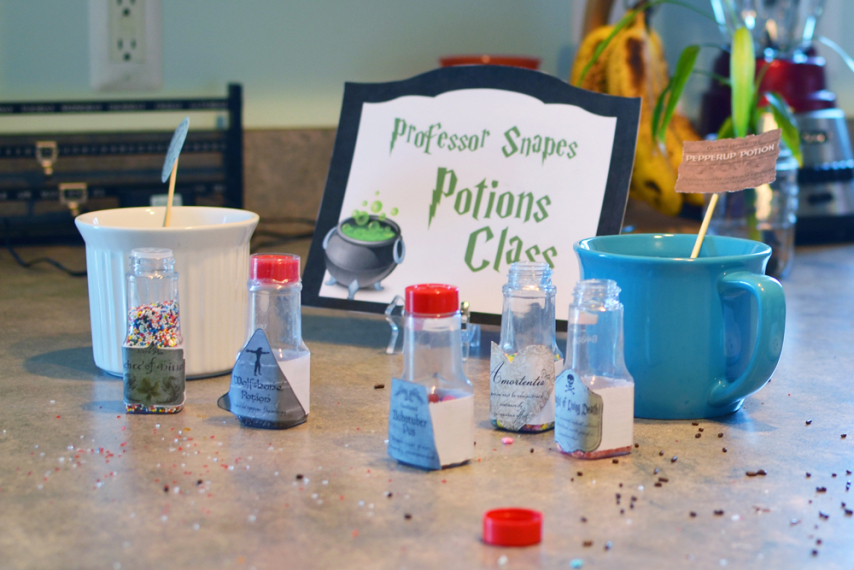
Activities: a Quidditch tryout session in the backyard, Mandrake planting in Herbology, sundae making in Potions class, a Have You Seen This Wizard photo op, and a showing of the first movie.
Take homes: Wands, monster books, feather pens, and Bertie Botts Beans, a "mandrake" if they potted one, and a Wanted Wizard sign if they took the photo op.


And now, here's some how-to.
The wands:
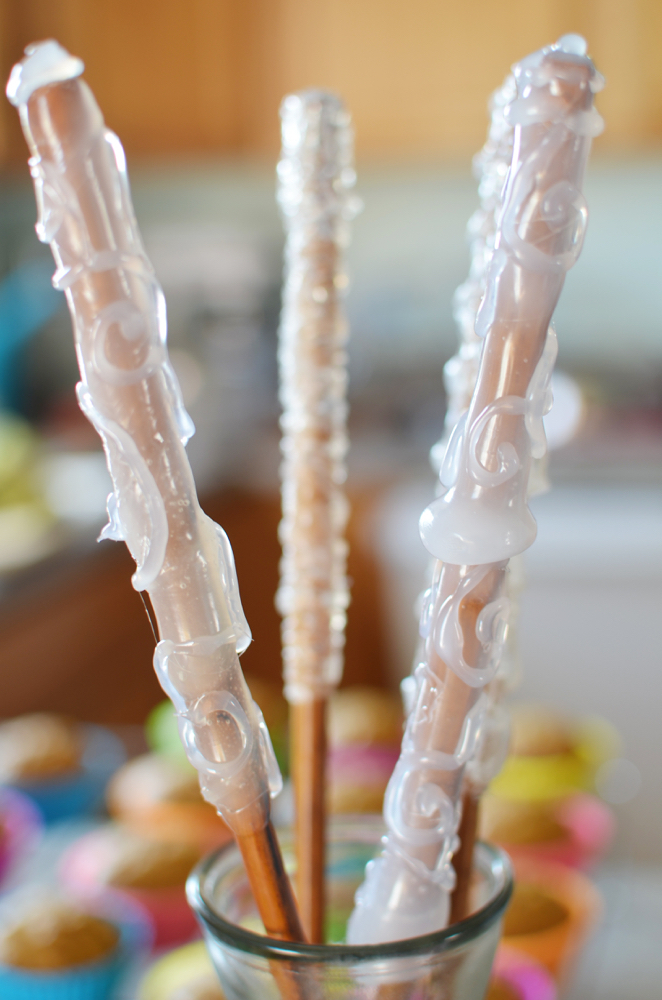
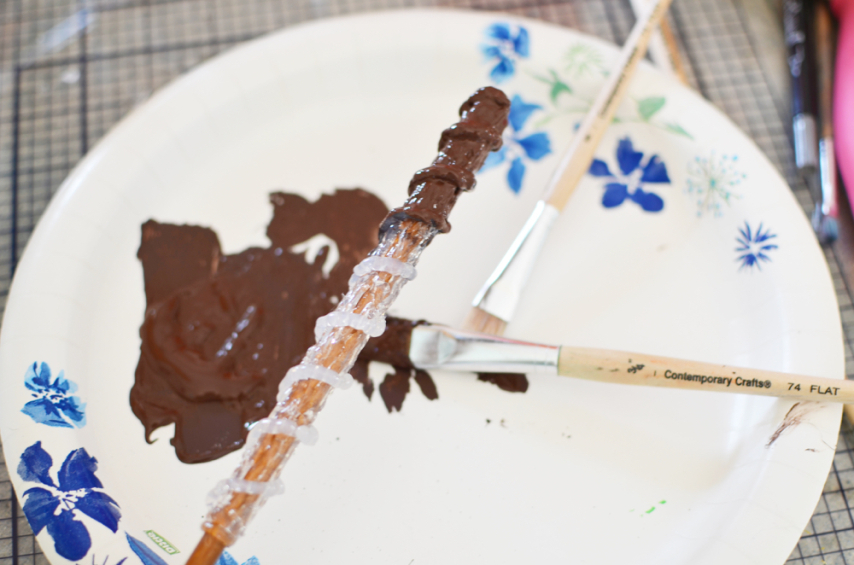
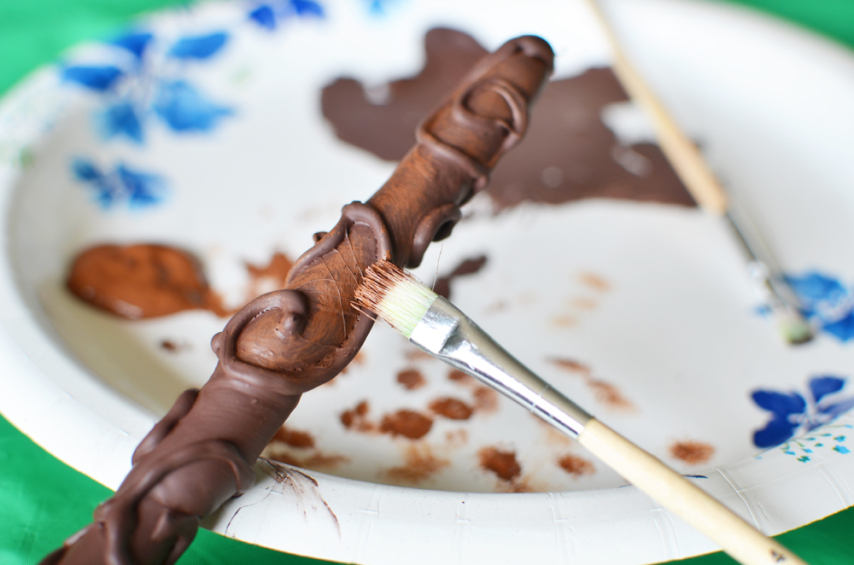
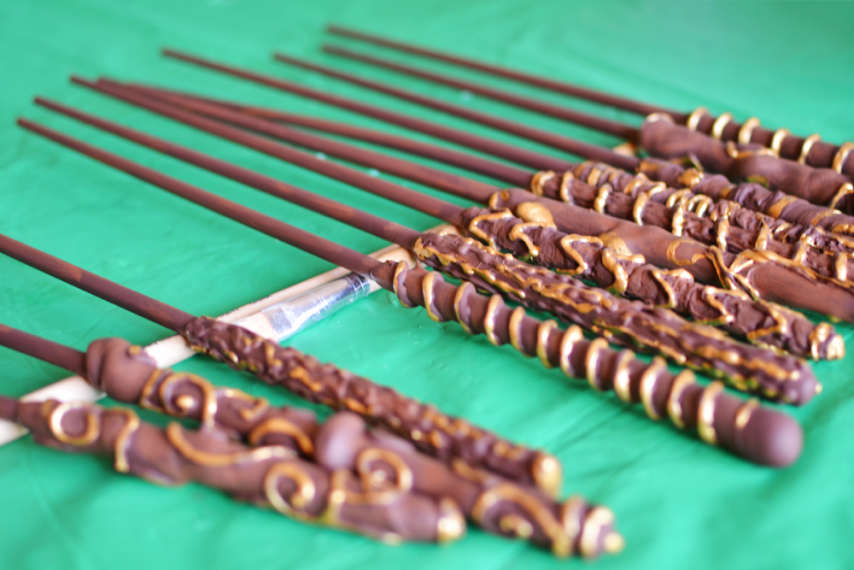
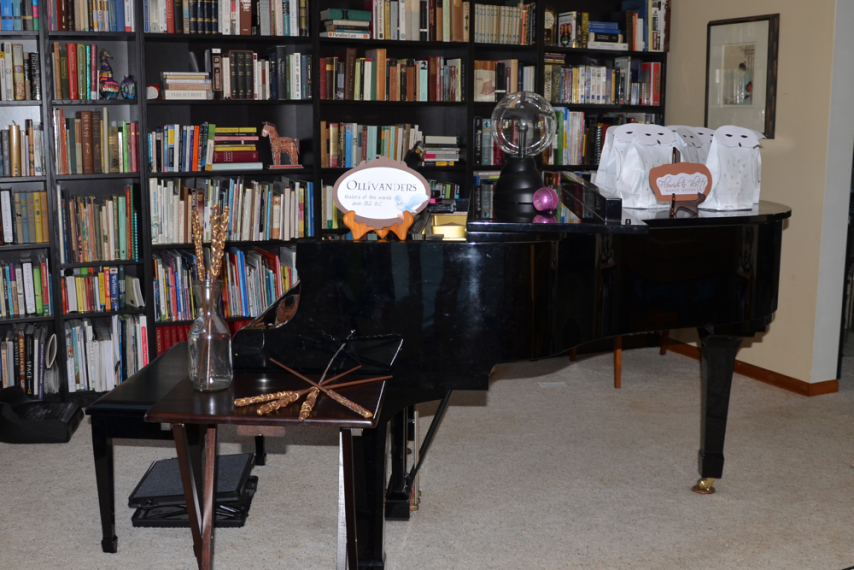
The wands were by far the main stage attraction at the party, and they were cheap and easy, but time consuming. My only purchase for this was a bag of chopsticks, the rest of the materials I already had on hand.
I made the wands based on this tutorial. I purchased long cooking choptsicks from Amazon and used the high setting on my hot glue gun to make the handles. This involved a lot of rolling the chopstick in one hand while managing the gun with the other. Once the initial handle cooled completely, I used the low setting on the hot glue gun to add raised detail.
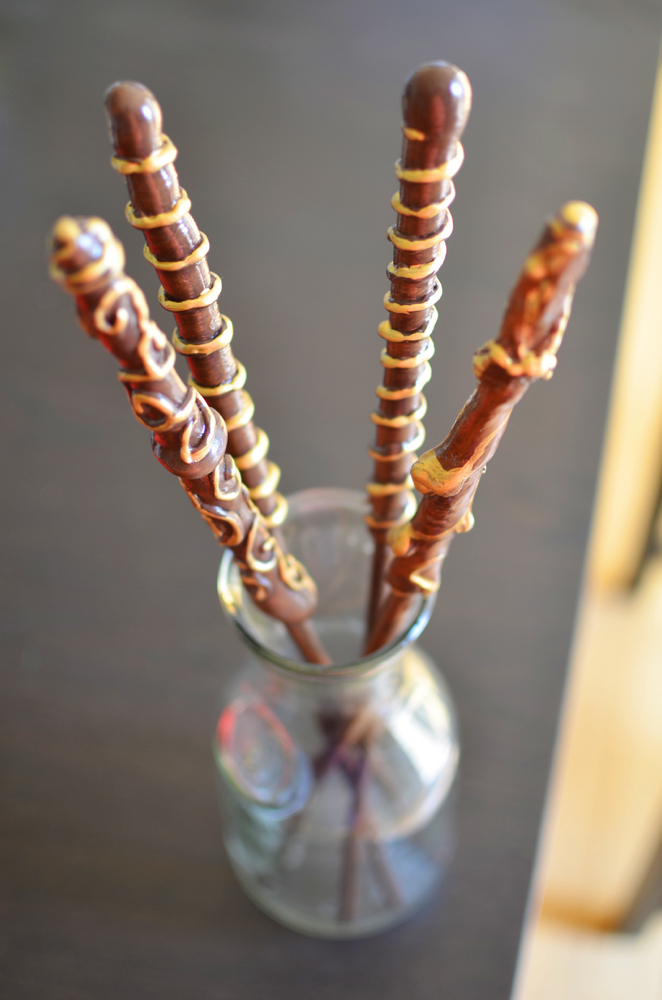
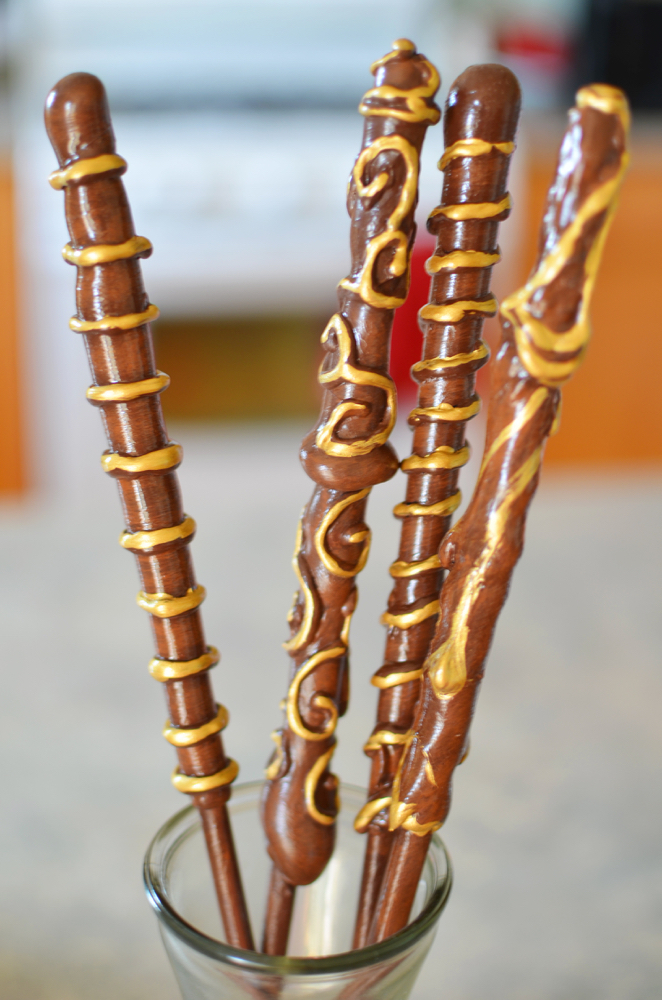
I used three colors of Acrylic paint that I already had on hand. I started with a base coat in the darkest color. When that was dry I lightly added brush strokes in the lighter color to give it more depth. I finished by painting the raised detail in gold. I painted the entire wand but finished the handle completely first, then went back to paint the wand part.
I finished the wands with a coating of glossy Modge Podge followed by a coat of Fixatif.
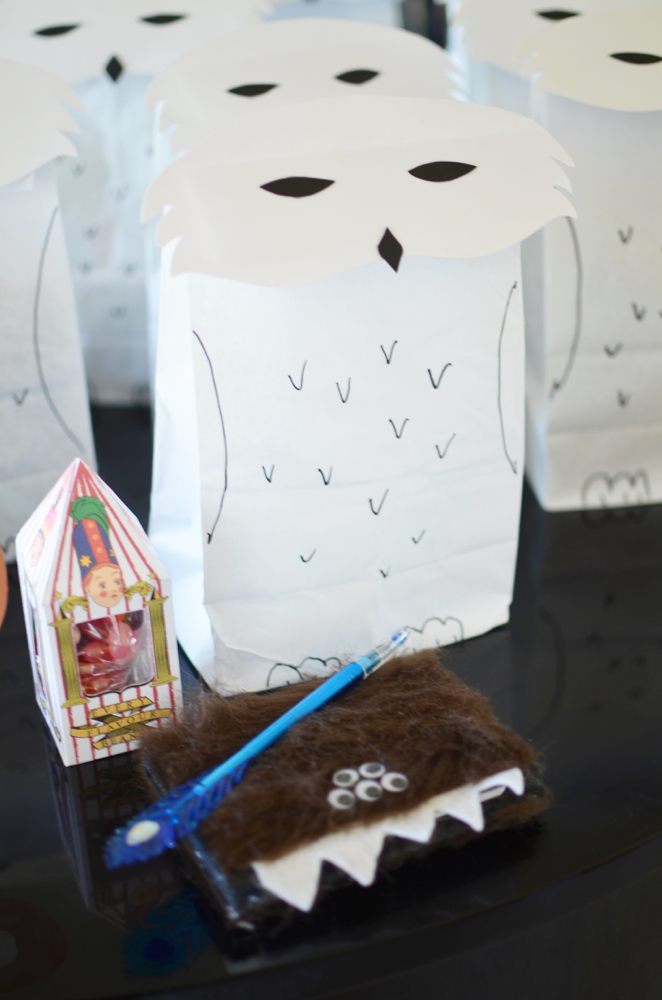
The monster books:
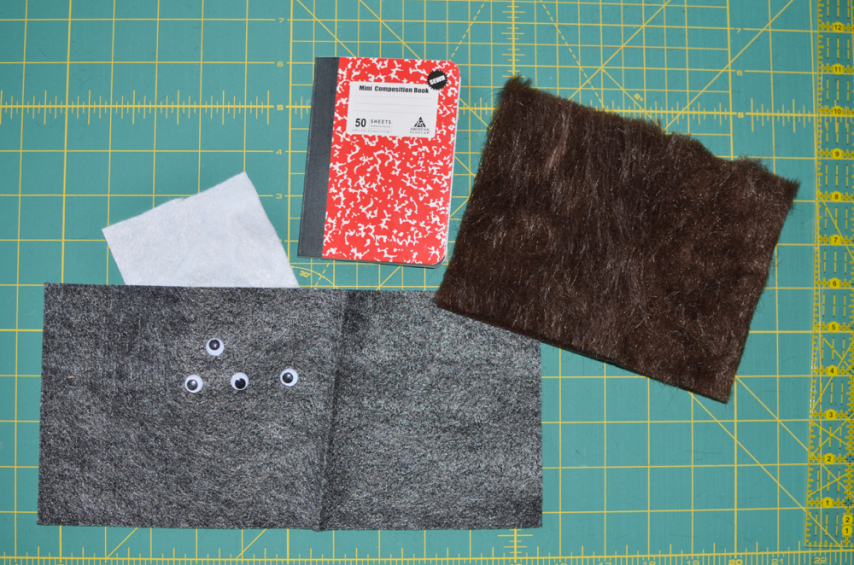
The monster books were my own design, and they were easy and far less time consuming a project than the wands. I purchased packages of small notebooks at the dollar store and a package of pens from Amazon, while the remaining materials I already had on hand.
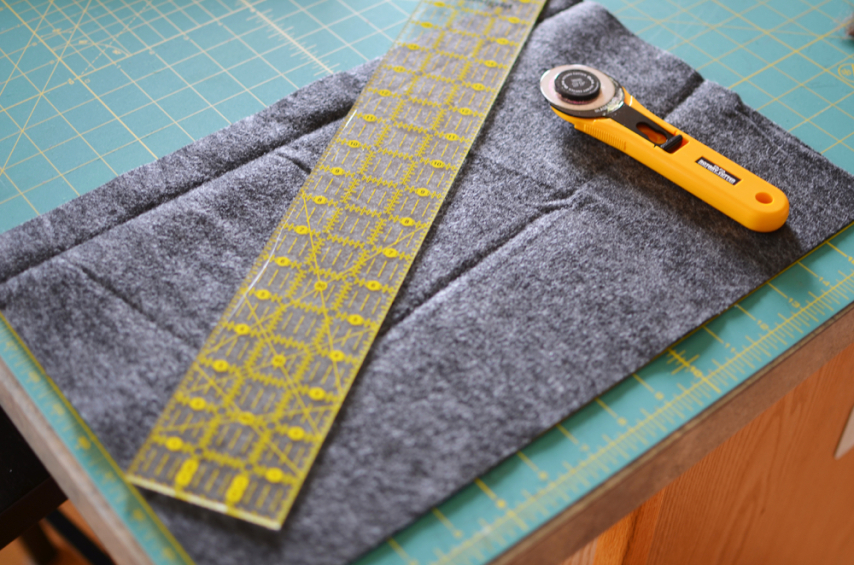
The monster books are actually monster book jackets made using gray felt cut to the the size of the open notebook plus 1.5 inches on each side and .25 inches each top and bottom. I folded the side edges over and hot glued them along the top and bottom edge to create pockets for the cover of the notebook, similar to a standard book jacket cover only more enclosed (they were not glued to the notebook so that they could be reused).
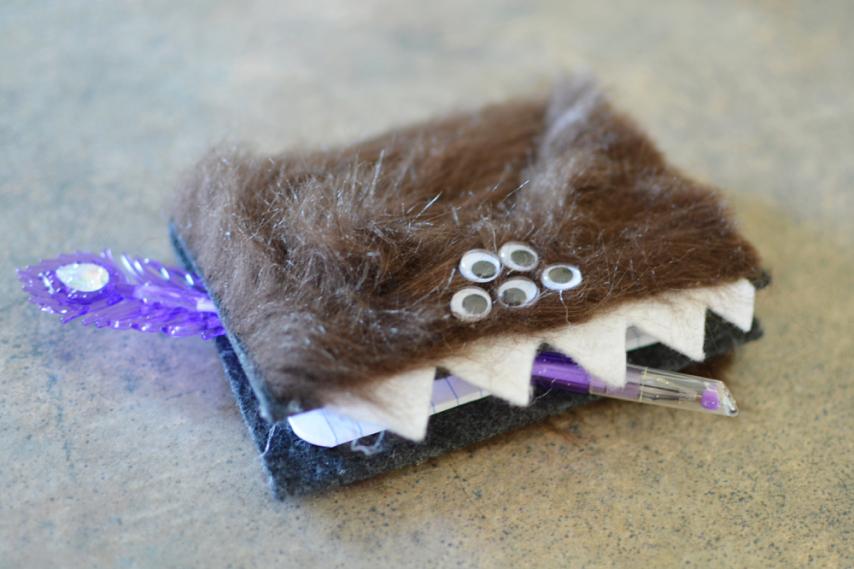
Once the felt jacket cover was made to fit a notebook, the rest was decoration. I cut teeth out of white felt and hot glued them the to the right edge of the "cover", then I cut fur to the size of the open book and glued it to the outside of the jack cover, overlapping the teeth. Lastly I glued eyes to the top right edge of the fur, near the teeth.
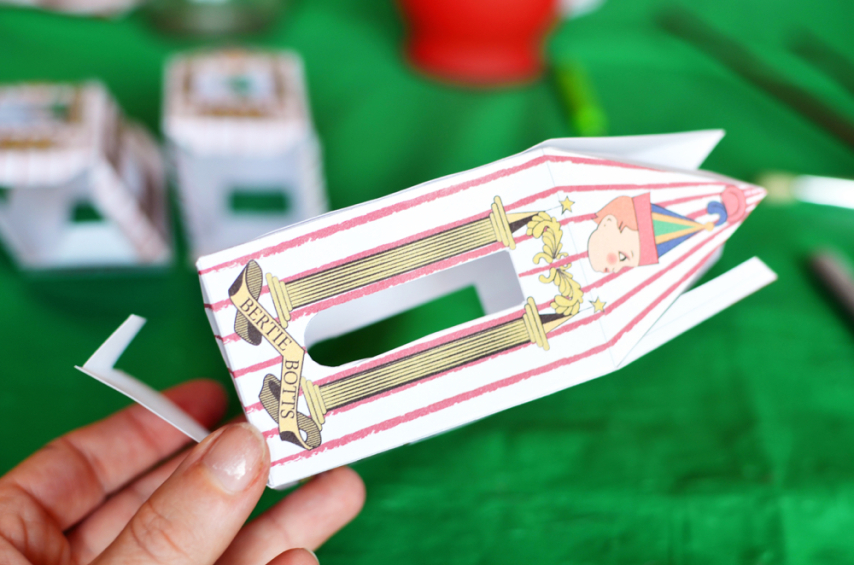
Bertie Botts (NOT) Every Flavor Beans
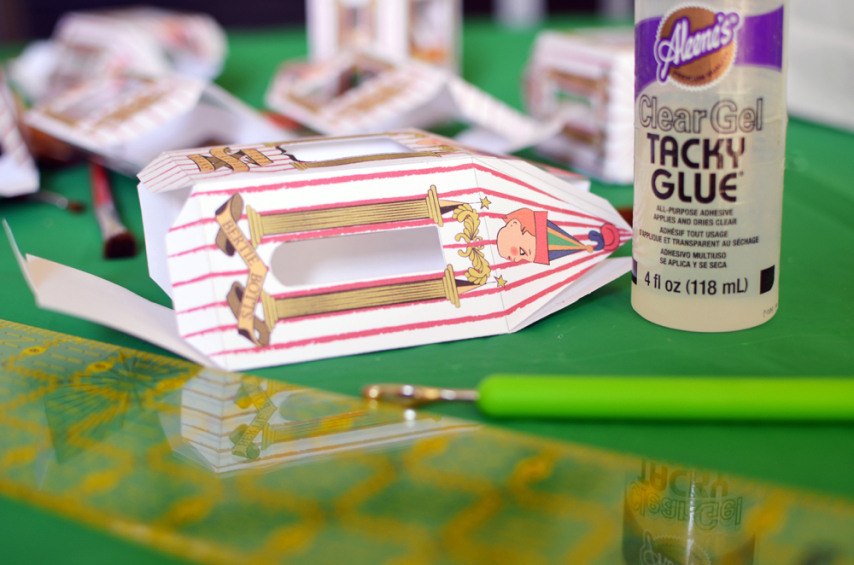
The Every Flavor Beans are available for purchase on Amazon, but they're pricey, the box is not authentic, and who really wants to stumble across a vomit flavored bean? Instead, we bought Jelly Bellies in bulk at our local grocery store and and printed off the template from this page to make our own authentic looking bean boxes.
We printed the boxes on cardstock, and cut out the windows with a craft knife and the box itself with regular scissors. I did cut all the tabs a little larger than they are drawn on the template. I also added a tongue tab to the square bottom and cut a slit for it in the opposing tab so it could be opened and closed instead of just glued shut. That being said, when we put the beans in baggies and placed them inside the boxes, they were too heavy for the unglued bottoms, so we had to use a small piece of tape on each to keep them closed. If I had it to do over again I think I would glue the bottoms but figure out how to make the top work like an accordion so that it would be reusable from there.
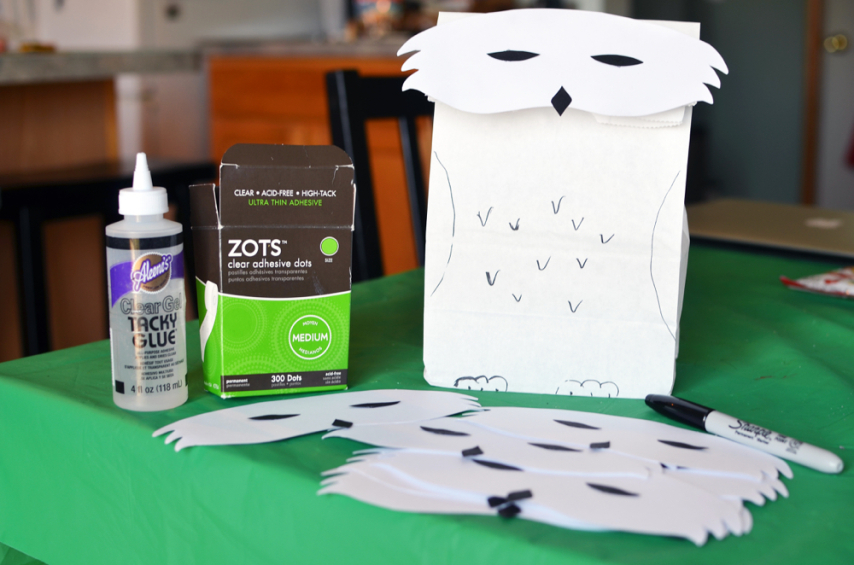
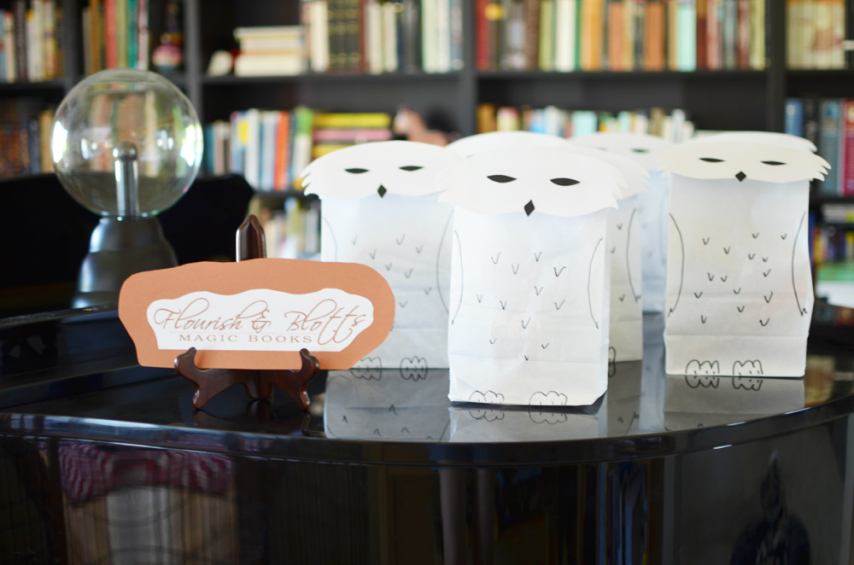
Owl Bags
We placed the goodies in snowy owl bags, which was another of my own creations and made entirely from items I already had on hand: white craft (lunch) bags, white and black cardstock, a black Sharpie, and adhesives.
I sketched an owl "mask" on white cardstock to use as a template. After cutting out all the masks, I used craft glue to add eyes and a beaks cut from black cardstock. I used Zots to attach the face upside down to the very top of the bag, and used a black Sharpie to draw wings, feathers, and clawed feet on the opposite side.
When the bag was filled and the top folded over, this created a snowy owl.
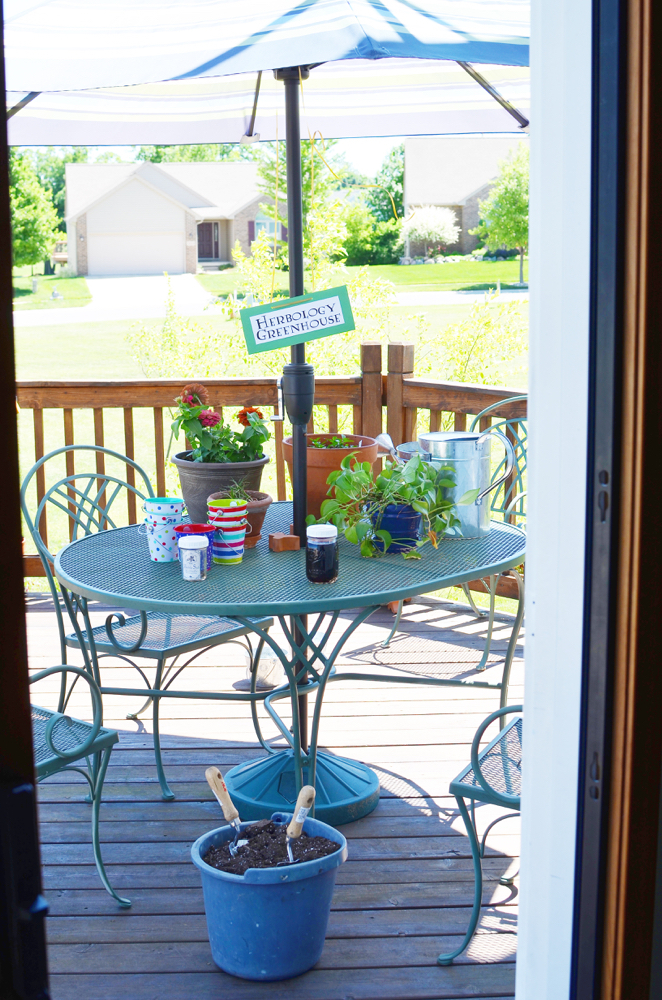
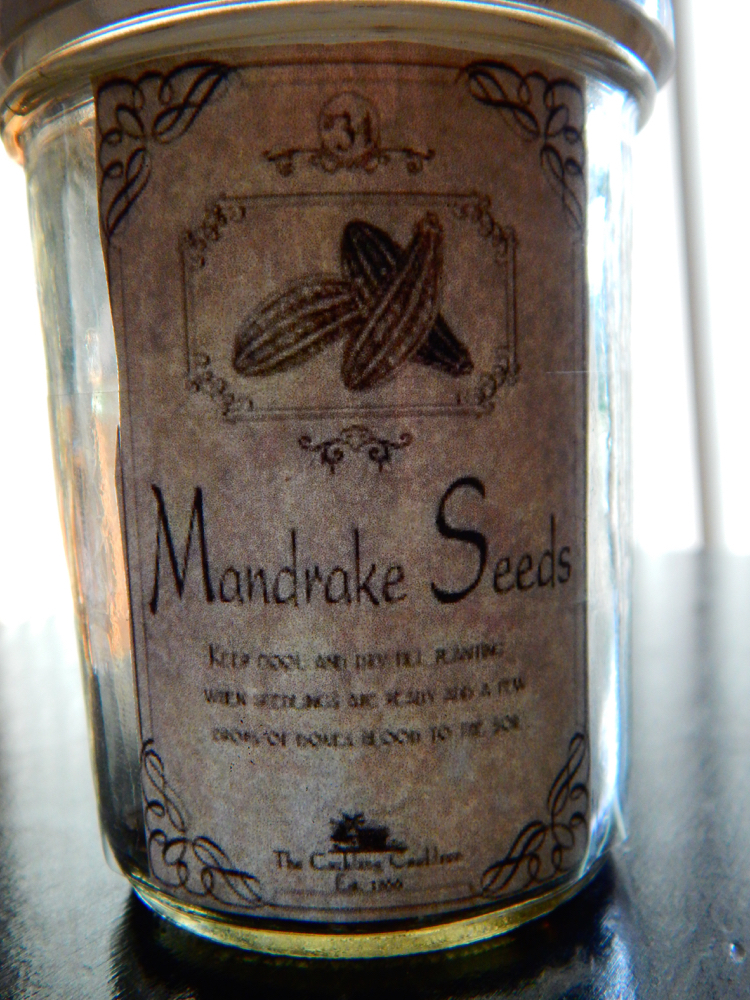
Herbology Mandrake potting
Pots from the dollar store and a single packet of miniature zinnia seeds from the local hardware store, plus dirt we had leftover from our potting this spring. We put the seeds in a jar which we labeled as Mandrake Seeds, and I added food coloring to water in another jar to make the dove's blood that Mandrakes all need (or so I've been told).
Decorations and such
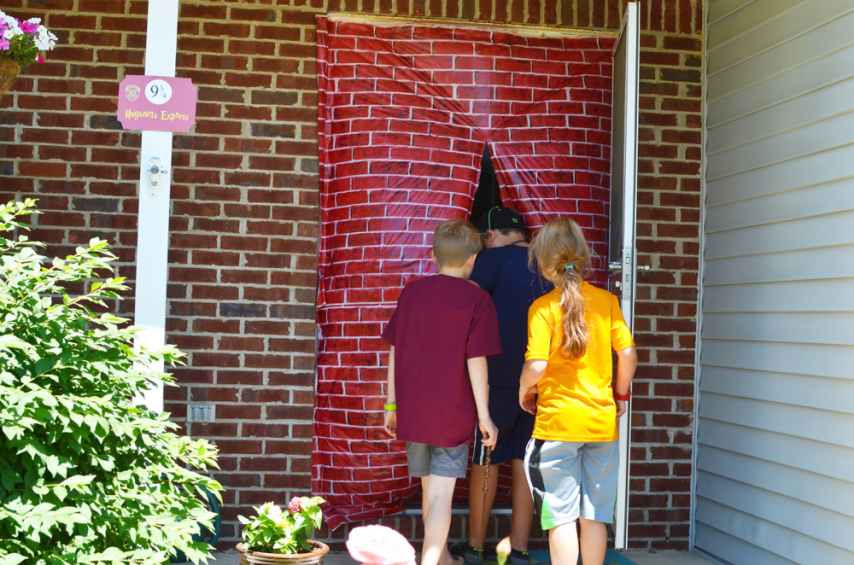
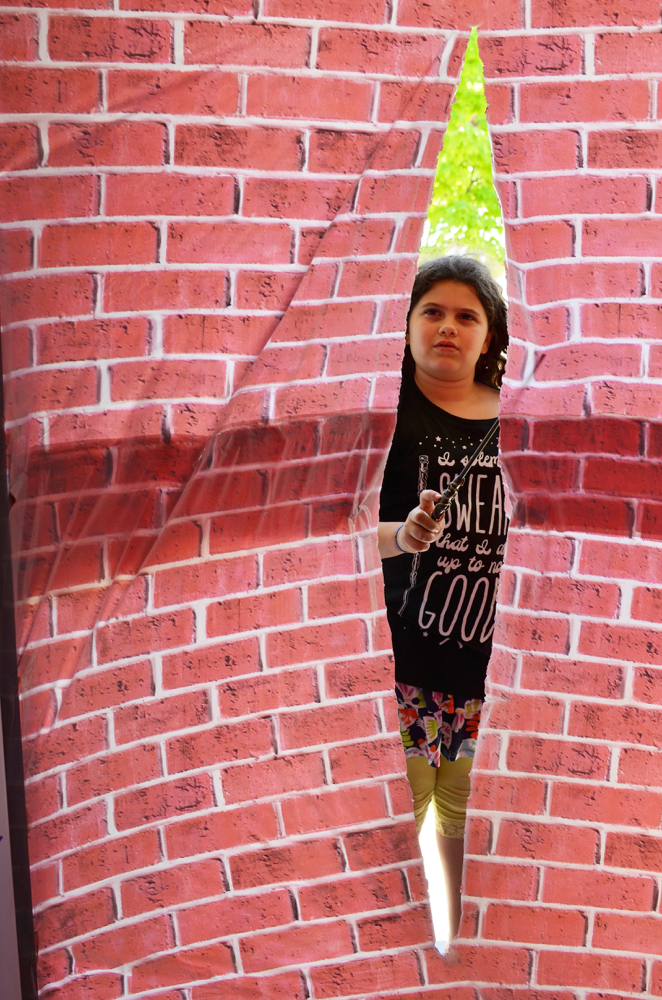
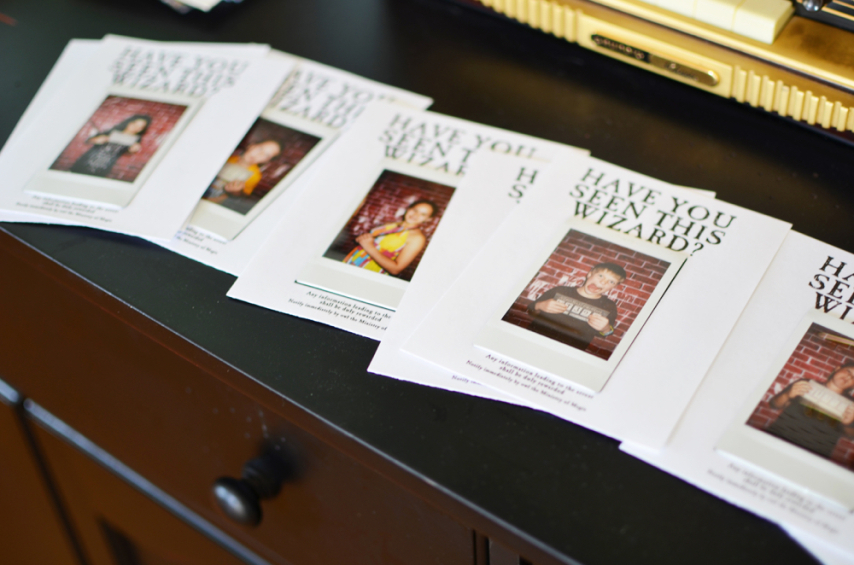
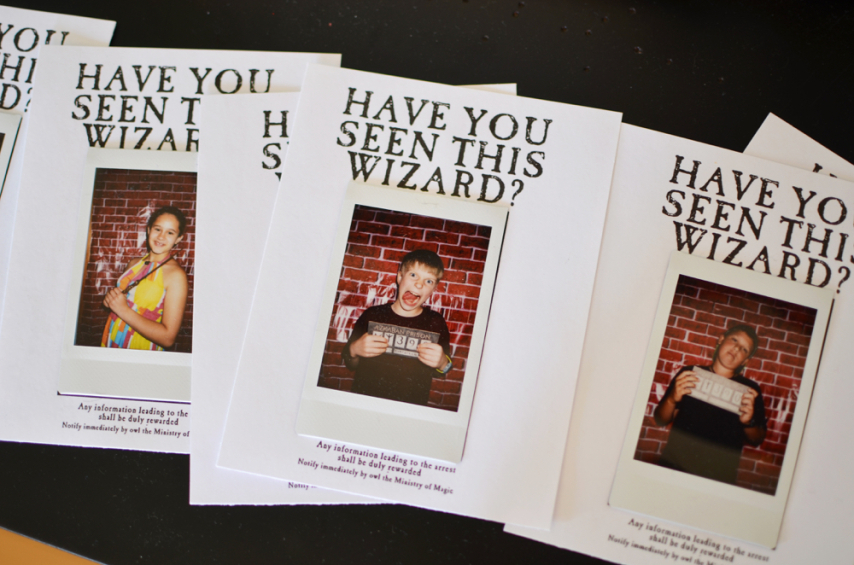
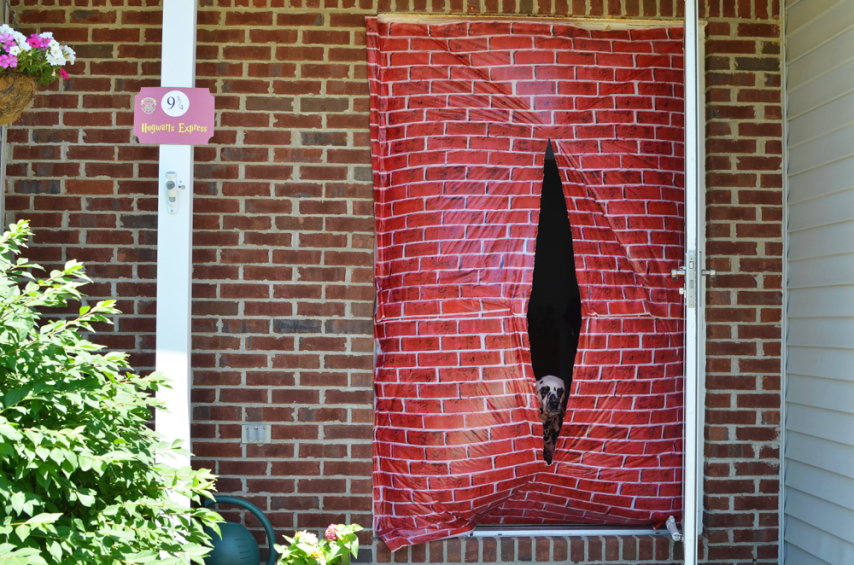
We purchased a brick wall from Amazon to make our front door into the Station 9 3/4 entrance post. There was plenty of wall, so we also hung a portion of it inside to use as a backdrop for our Wanted Wizard photos (which we took using our Instax camera).
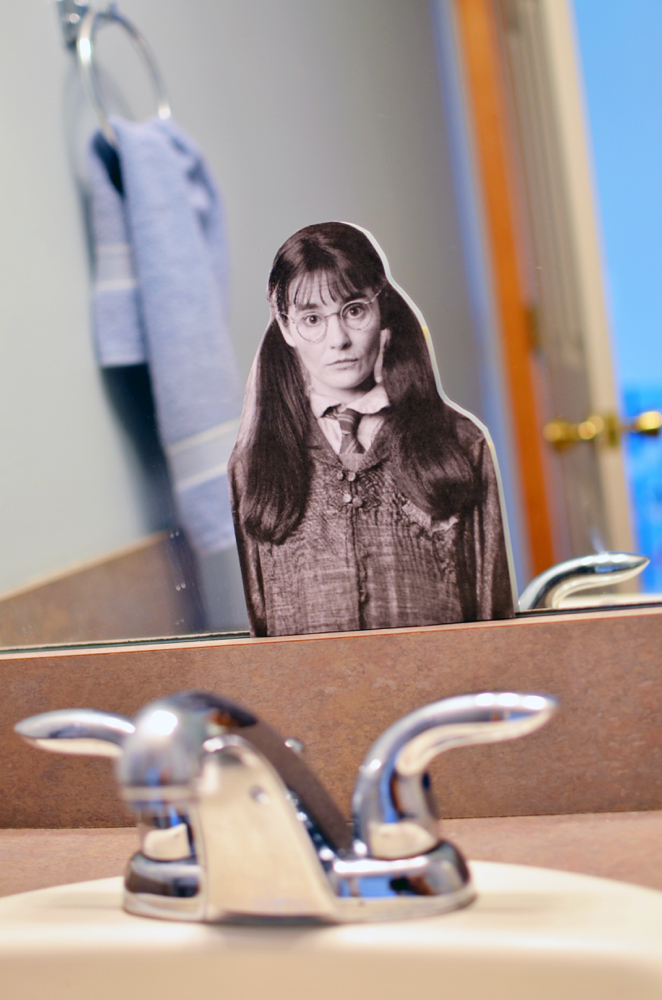
We printed signs for various locations in Diagon Alley and Hogwarts, as well as labels for potions and the Mandrake seeds, our Wanted Wizard mini posters, and an image of Moaning Myrtle for the bathroom. You can easily purchase these in bundles of printables on Etsy, but with a little more effort we found good stuff for free online (a simple Google search worked wonders), or made on our own.
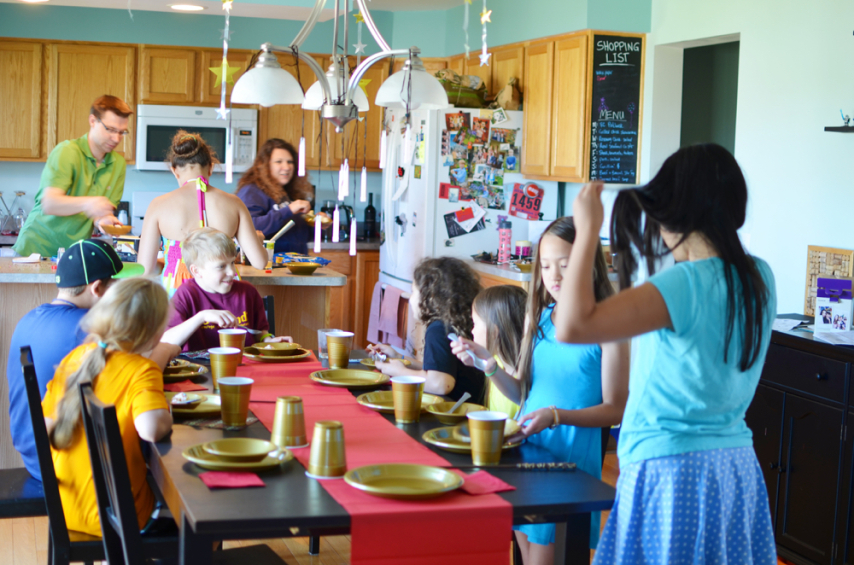
I decorated our Great Hall (dining room) with stars and glowsticks (candles) hanging from the ceiling. We got a red plastic table cloth to use as a runner on the table and gold plates, bowls, cups, and utensils to round out the Gryffindor color scheme.
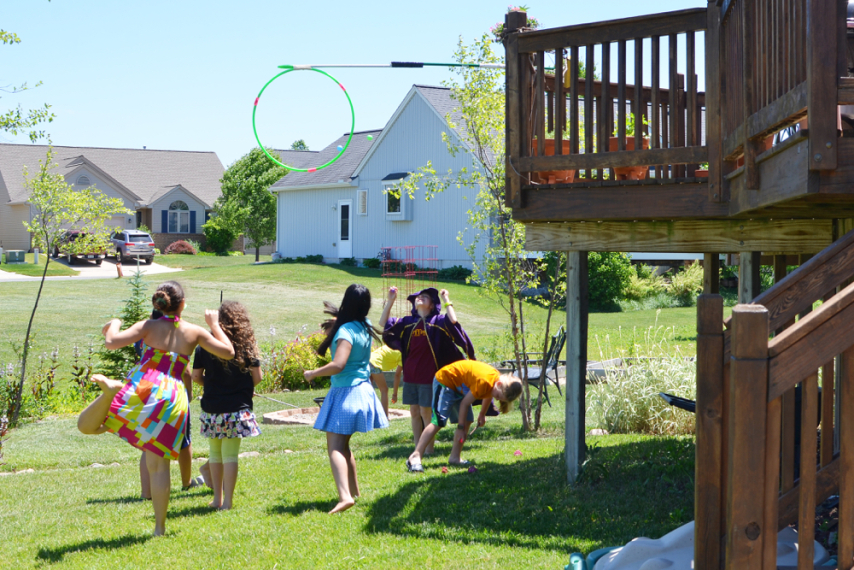
Lastly, I used duct tape to join two old mop handles together and hang a hula hoop from one end, then tied the contraption to the deck railing with rope. This resulted in a hilariously serviceable Quidditch goal. We used ping pong balls for the team tryouts activiity.


Reader Comments